Wedding Planning DIY :: Custom Painted Jean Jackets
This post contains affiliate links for your convenience which means if you purchase something I recommend I may receive a commission at no additional cost to you.
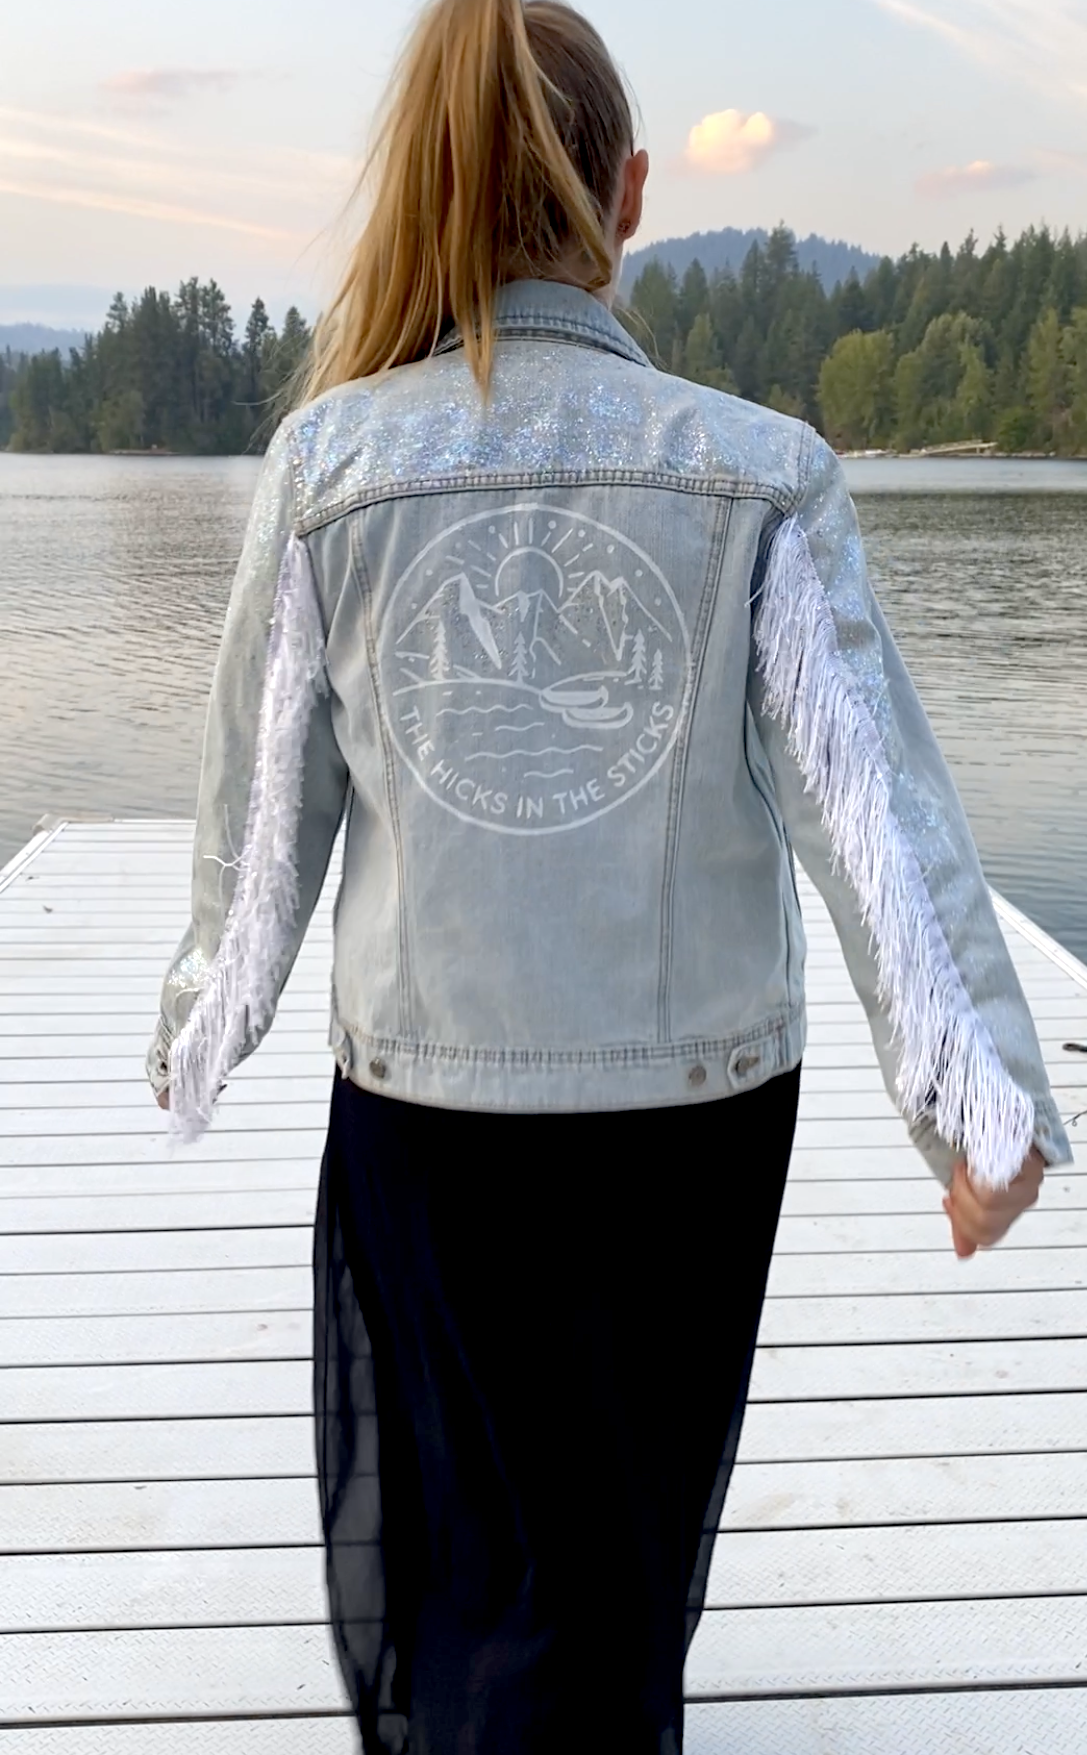
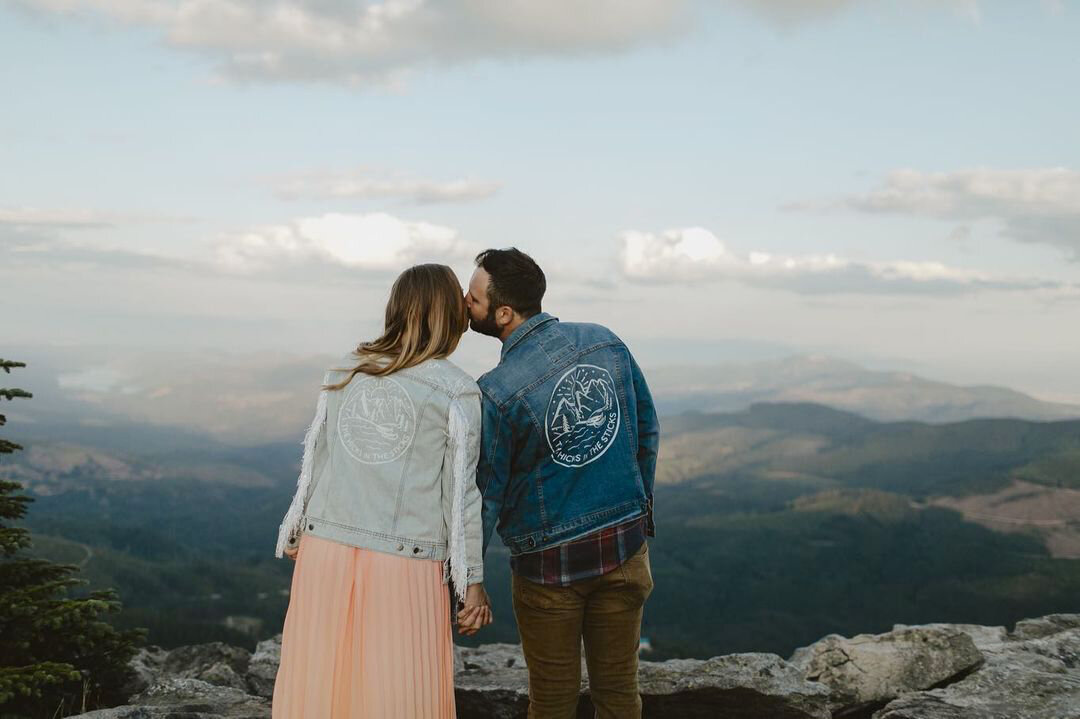
When we decided to plan a full blown wedding there were a few things on my “must-haves list” and one of them was creating a logo for our wedding becauseeee…. branding and web designer here 🙋♀️. You know I couldn’t resist. We have a few different uses for it, but the first one was creating custom-painted jeans jackets for our engagement photos.
For our wedding, we’re using the hashtag #TheHicksGetHitched but outside of that, we created an Instagram account to share our outdoor adventures with the name @TheHicksintheSticks. Evan’s last name is Hicks, and we’re both originally from Enumclaw which is out in the sticks so alas the name was born. Since our wedding is only one day, I decided to do two logos one with The Hicks Get Hitched which will actually be on some of our wedding stuff and then one for The Hicks in the Sticks which we could use beyond our wedding. Which is the one we used for our jackets. Did you follow all that? Ha!
Picking out our Jackets
You could use jackets you already have or buy new ones like we did. We got ours at Old Navy and Target! Here’s a link to the one I got and the one Evan got. I also included some other options below!
The DIY Goods
Here are some of the goods I used for the project:
Fabric paint — here is the one I got
Glitter paint — this is the color I used
Stencil — I used my Cricut to create my stencil although I would NOT recommend using standard stencil material… If you’re going to use a Cricut, try using their stencil material. My Cricut couldn’t cut through the plastic material of the ones I bought at Hobby Lobby (even on the thickest setting) Which was a big ol’ pain in the booty and waste of time.
Sponge brushes — these worked great!
Sequin fringe to add a little something extra — I got mine at Hobby Lobby and just measured the arms and got a little extra on each side. This one is similar to what I used.
Cricut, or something to cut out your stencil with
You could also use the iron on material for Cricuts for this project too, I just preferred the painted look.
The Process
Create design you want to use (I created a custom design)
Create and cut out the stencil
Line up stencil and tape in place. you can also use stencil adhesive depending on the material you’re using
Use sponge brushes to paint on the jacket. I did 2-3 coats with about 5-10 minutes in between each coat
Remove stencil! Because I used removable vinyl, I removed ours when they were still a little wet to prevent bleeding
Make any finishing touches you’d like! I added glitter paint to the arms of mine and sewed sequin fringe on the sleeves.
The Final Product!
Here’s a look at how ours turned out!
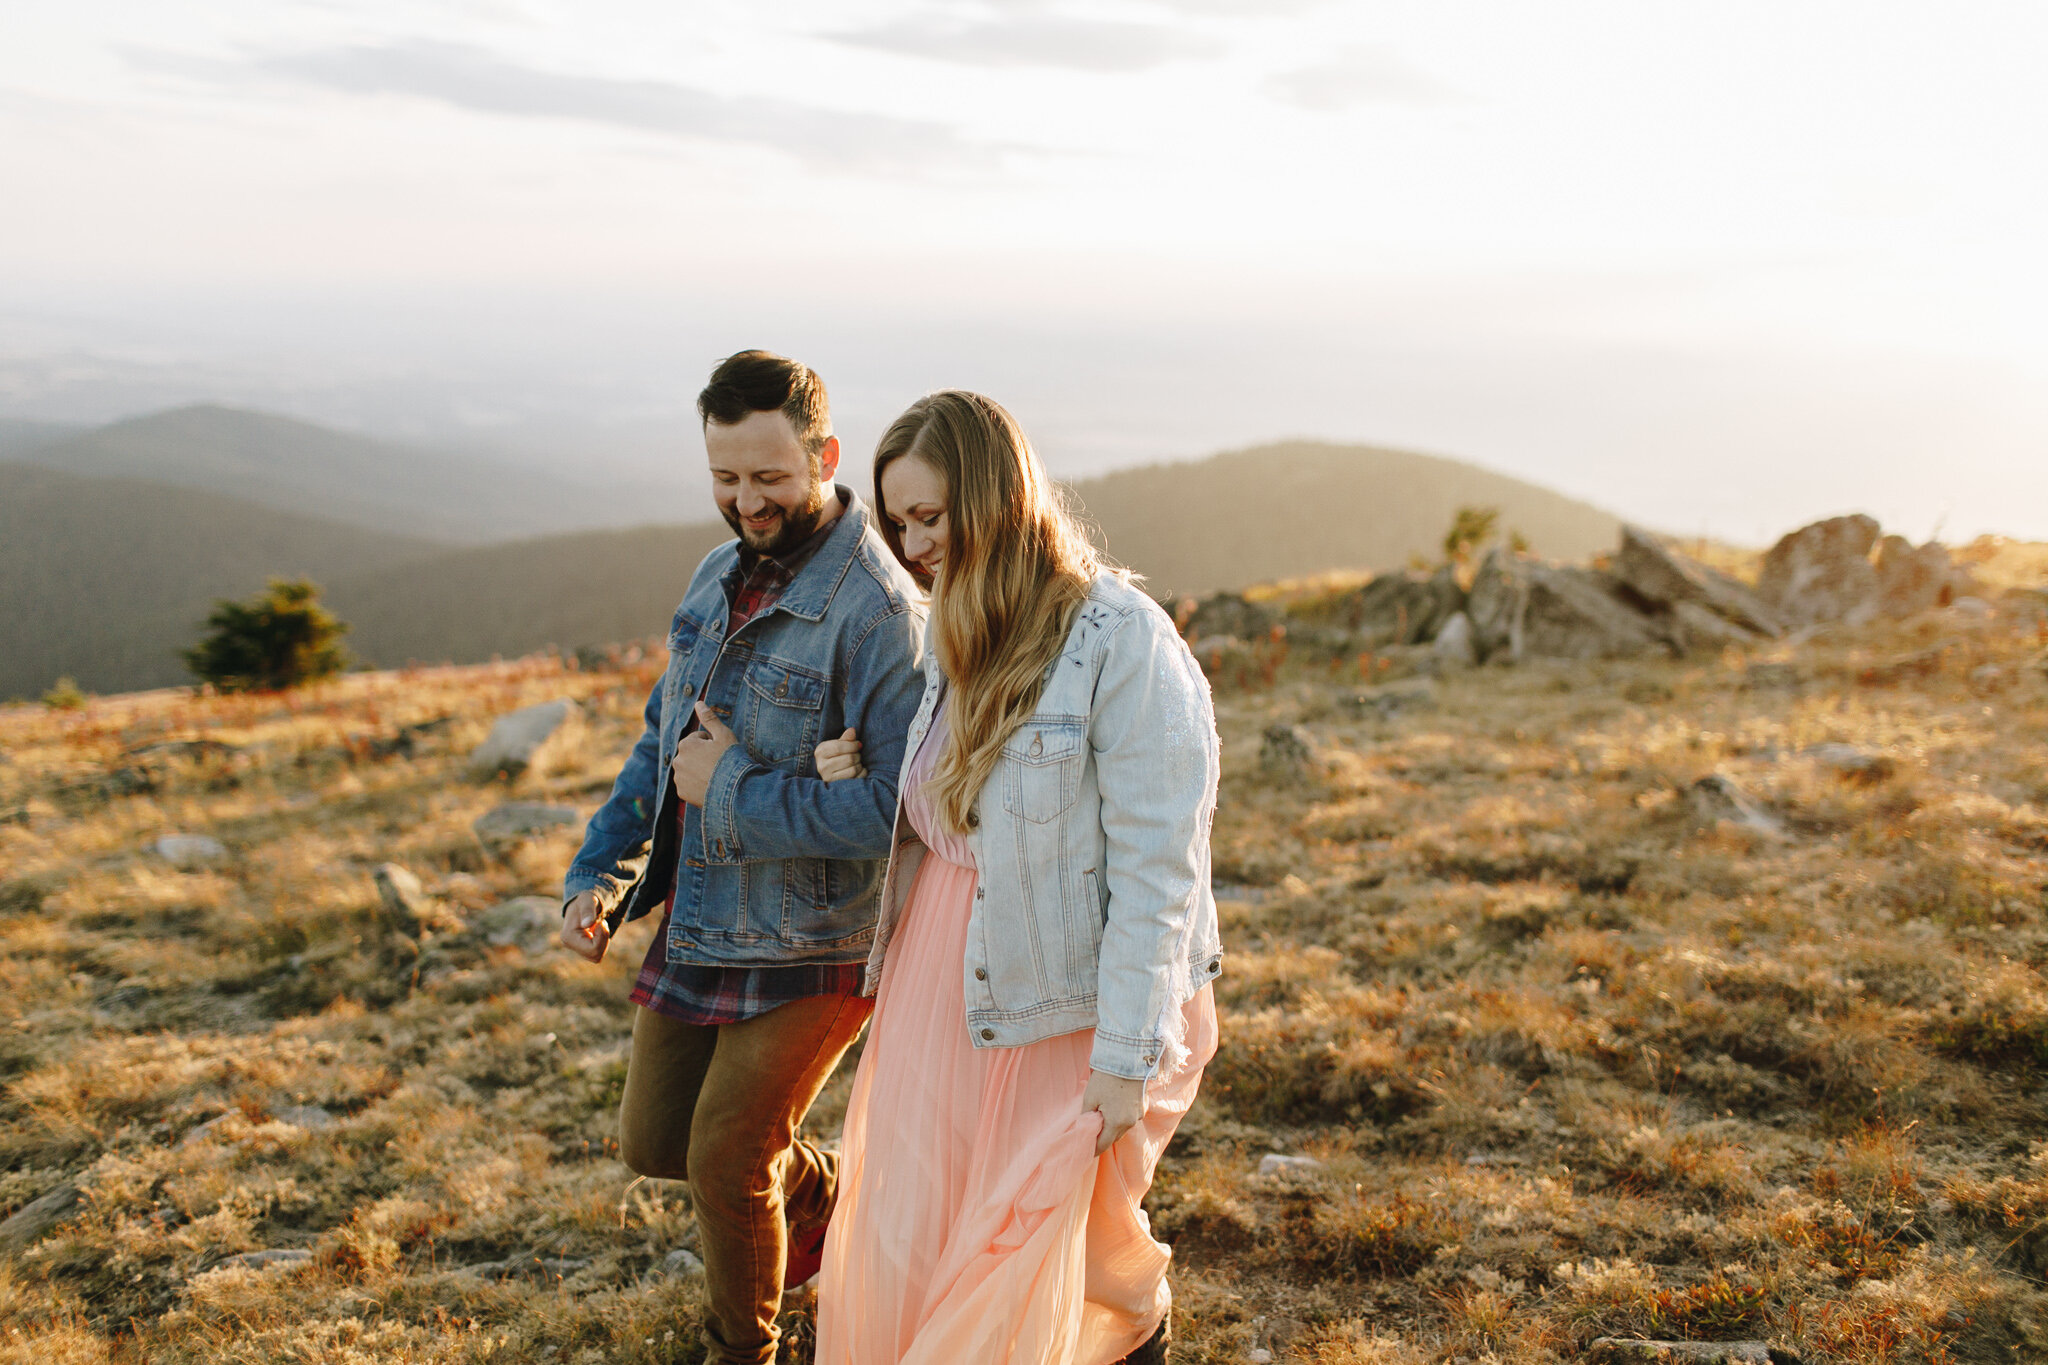
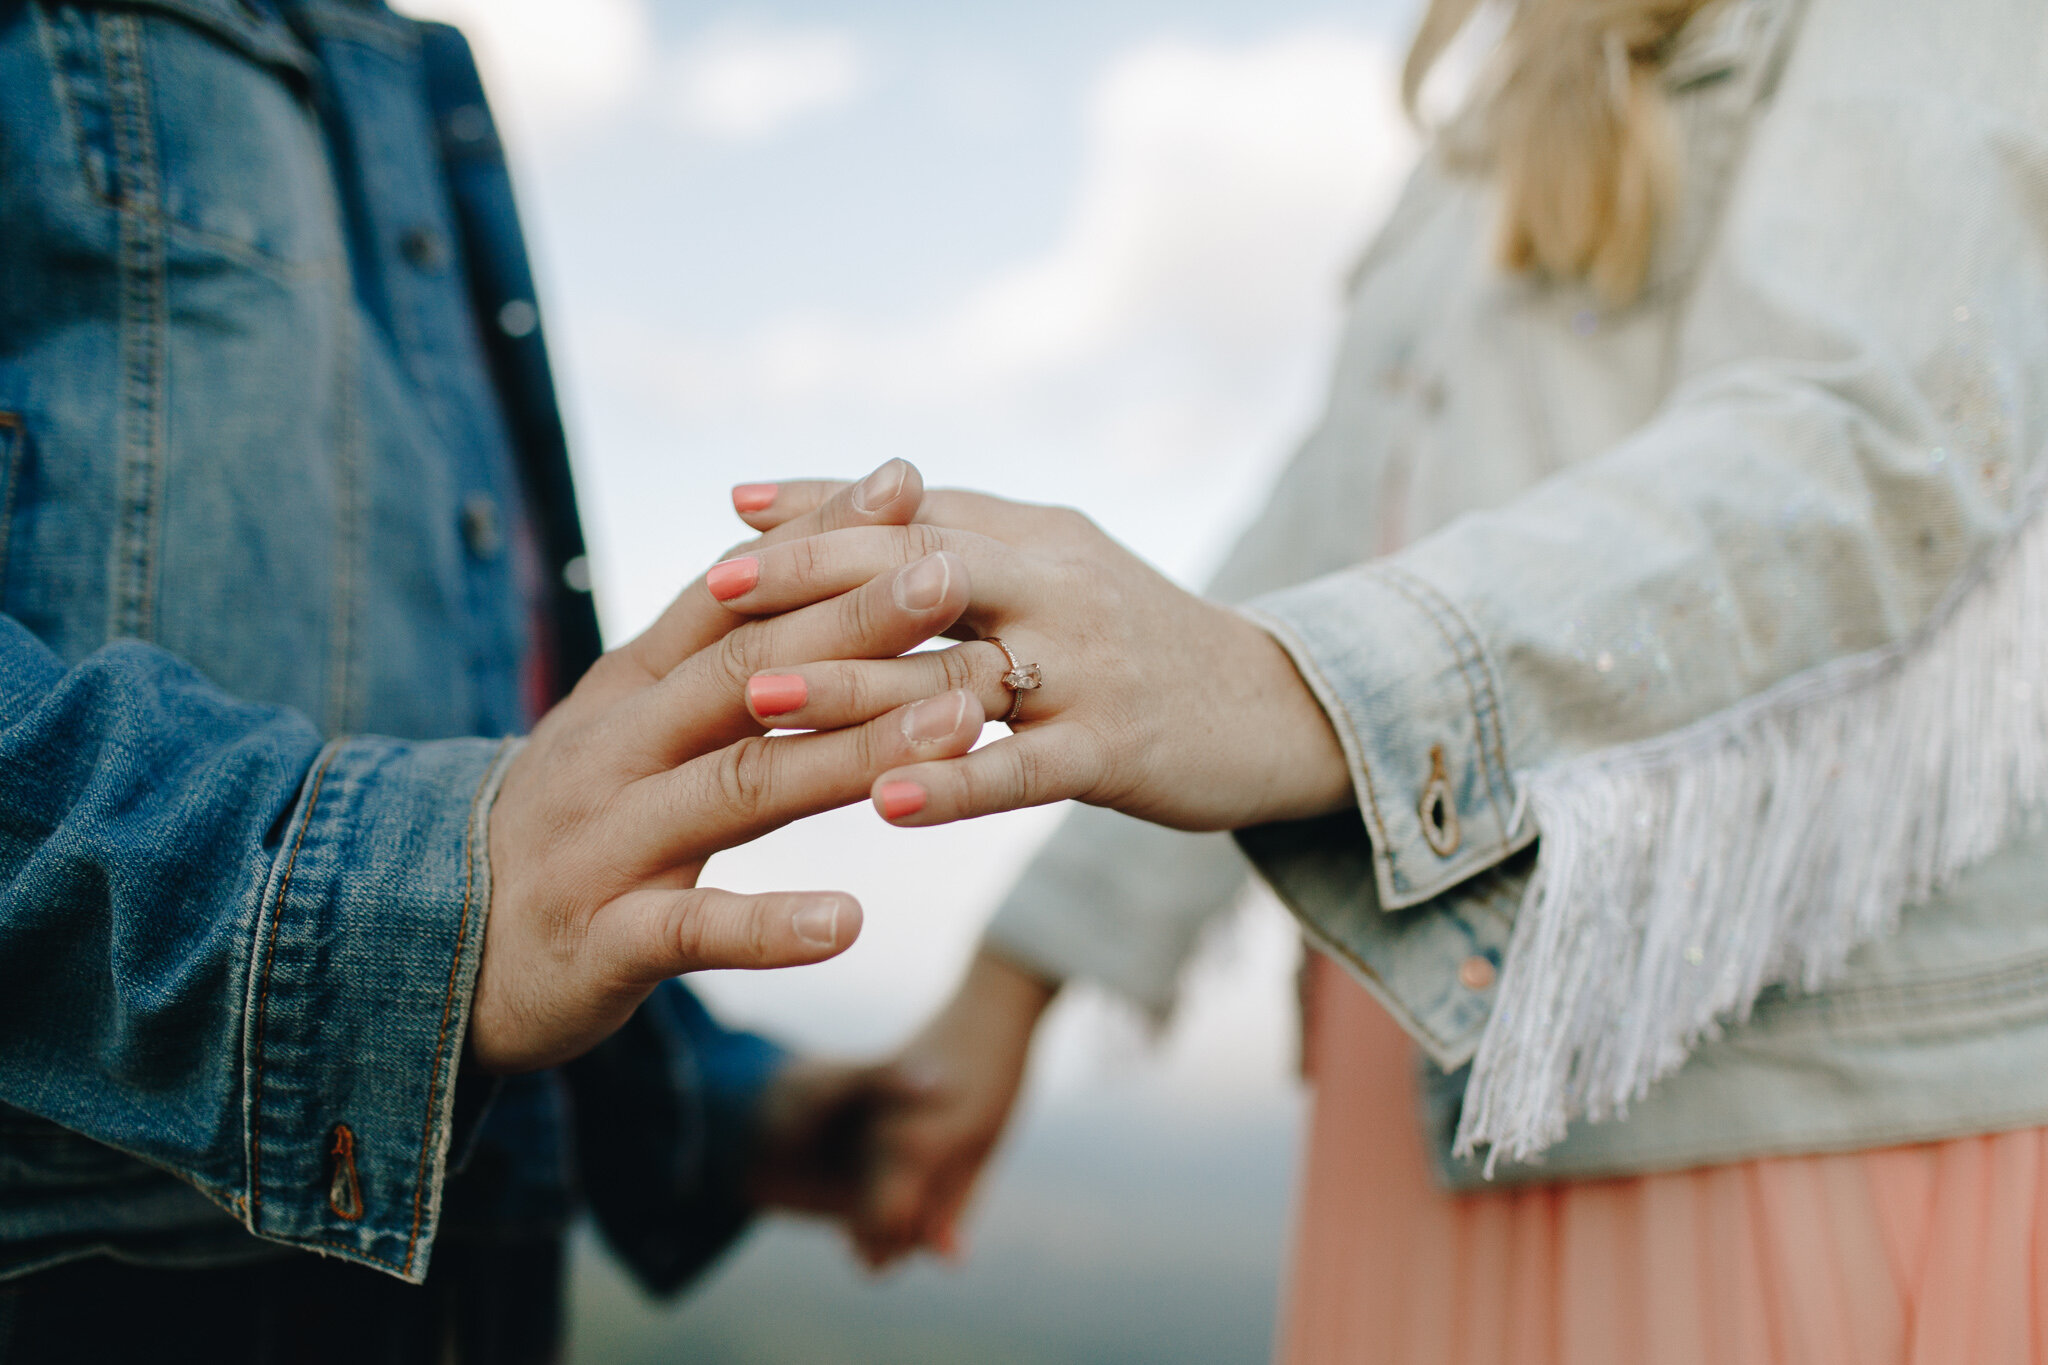
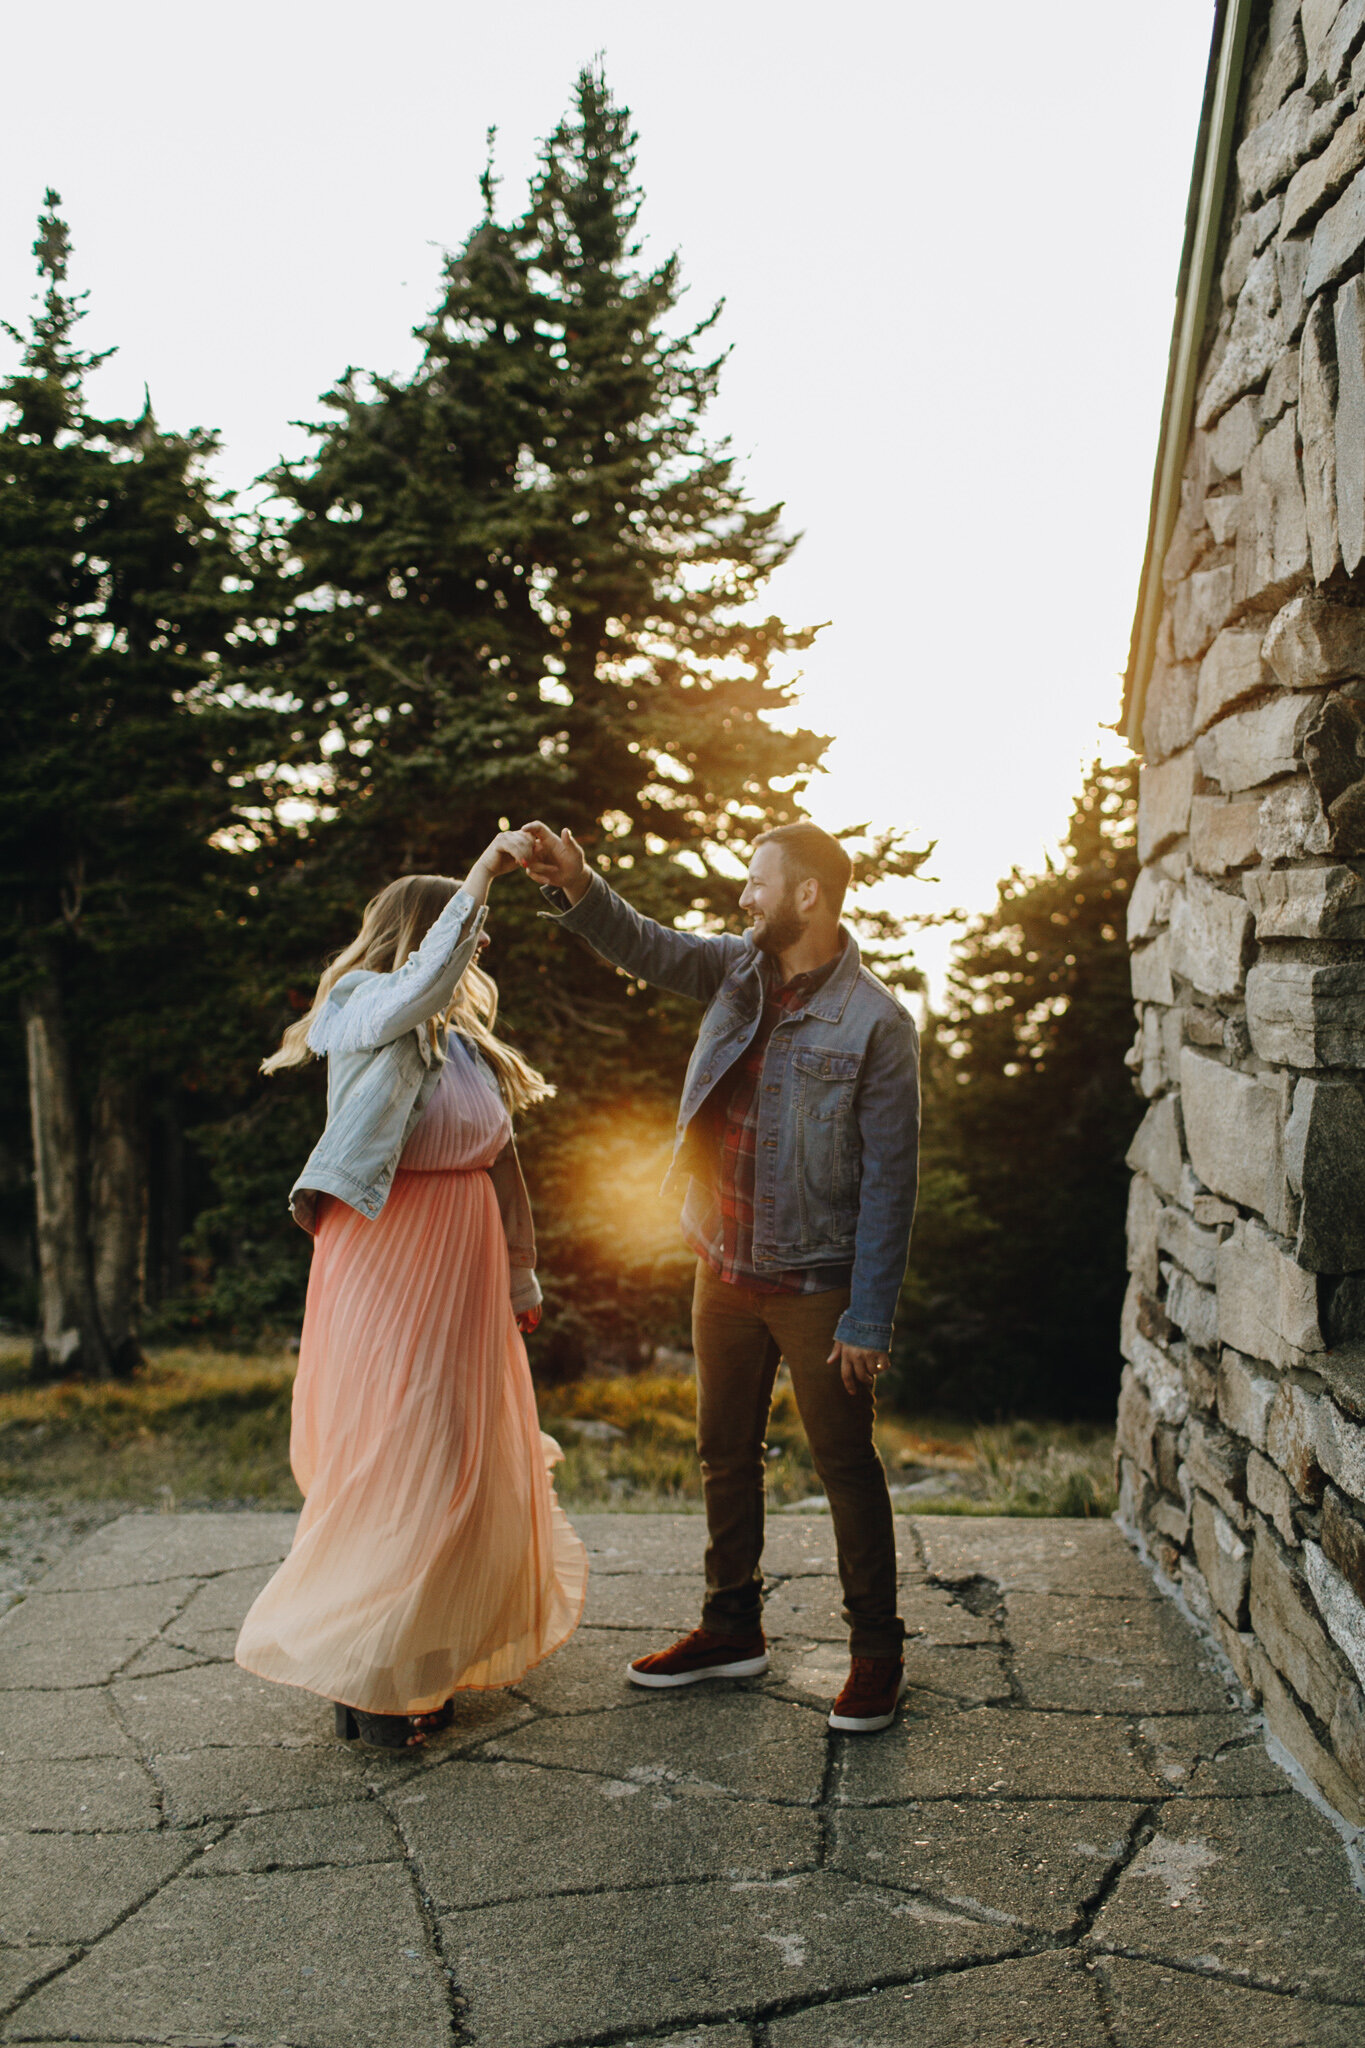
Plus a few of the sneak peels from our engagement photo session with our photographer Hannah Acheson because we’re obsessedddd with how cute they turned out. Thank you Hannah for making us look adorbs!
Photo CC: Hannah Acheson
