Posts tagged Home Makeover
Apartment DIY Bathroom Edition
Anna Osgoodby Life + Design :: Apartment DIY Project Bathroom Edition -- How to Re-Grout and Re-Caulk Your Shower for Under $30

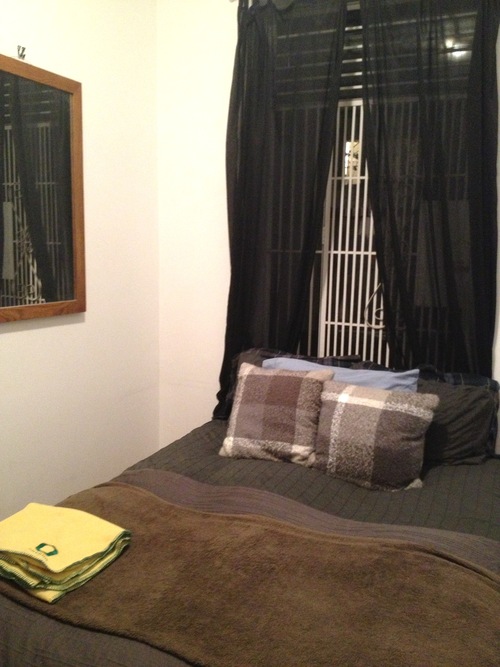
Things are about to get a little grout-y with today's DIY post! Get it?! Haha, ok ok maybe it's a little cheesy 😜. As I mentioned in my latest apartment tour blog post, our apartment needed a little TLC when we moved in. When you find an apartment in Manhattan in a great location with a backyard though, you sign that lease and commit to doing some DIY projects.. because #priorities. And let's be honest, when I say DIY projects I'm only referring to myself because while Chris has many great qualities being handy or crafty are not two of them.

Of course when you're renting there's a little bit of a limit to the things you can do. 1.) you don't own the place so you can't do anything too crazy and 2.) since you're just renting you don't want to invest too much into any projects. There are just certain things you have to do something about though and our shower definitely fit that bill. Guys.. it was nasty. Living in New York, you're living in buildings that are often pre-war and have a high turnover of renters so renovations are often few and in between because, well, they'll get rented either way. So unfortunately it's not uncommon to end up with a bathroom with moldy caulking or missing grout. Not to fear though! With a few items under $30 and some elbow grease, you too can make some improvements.

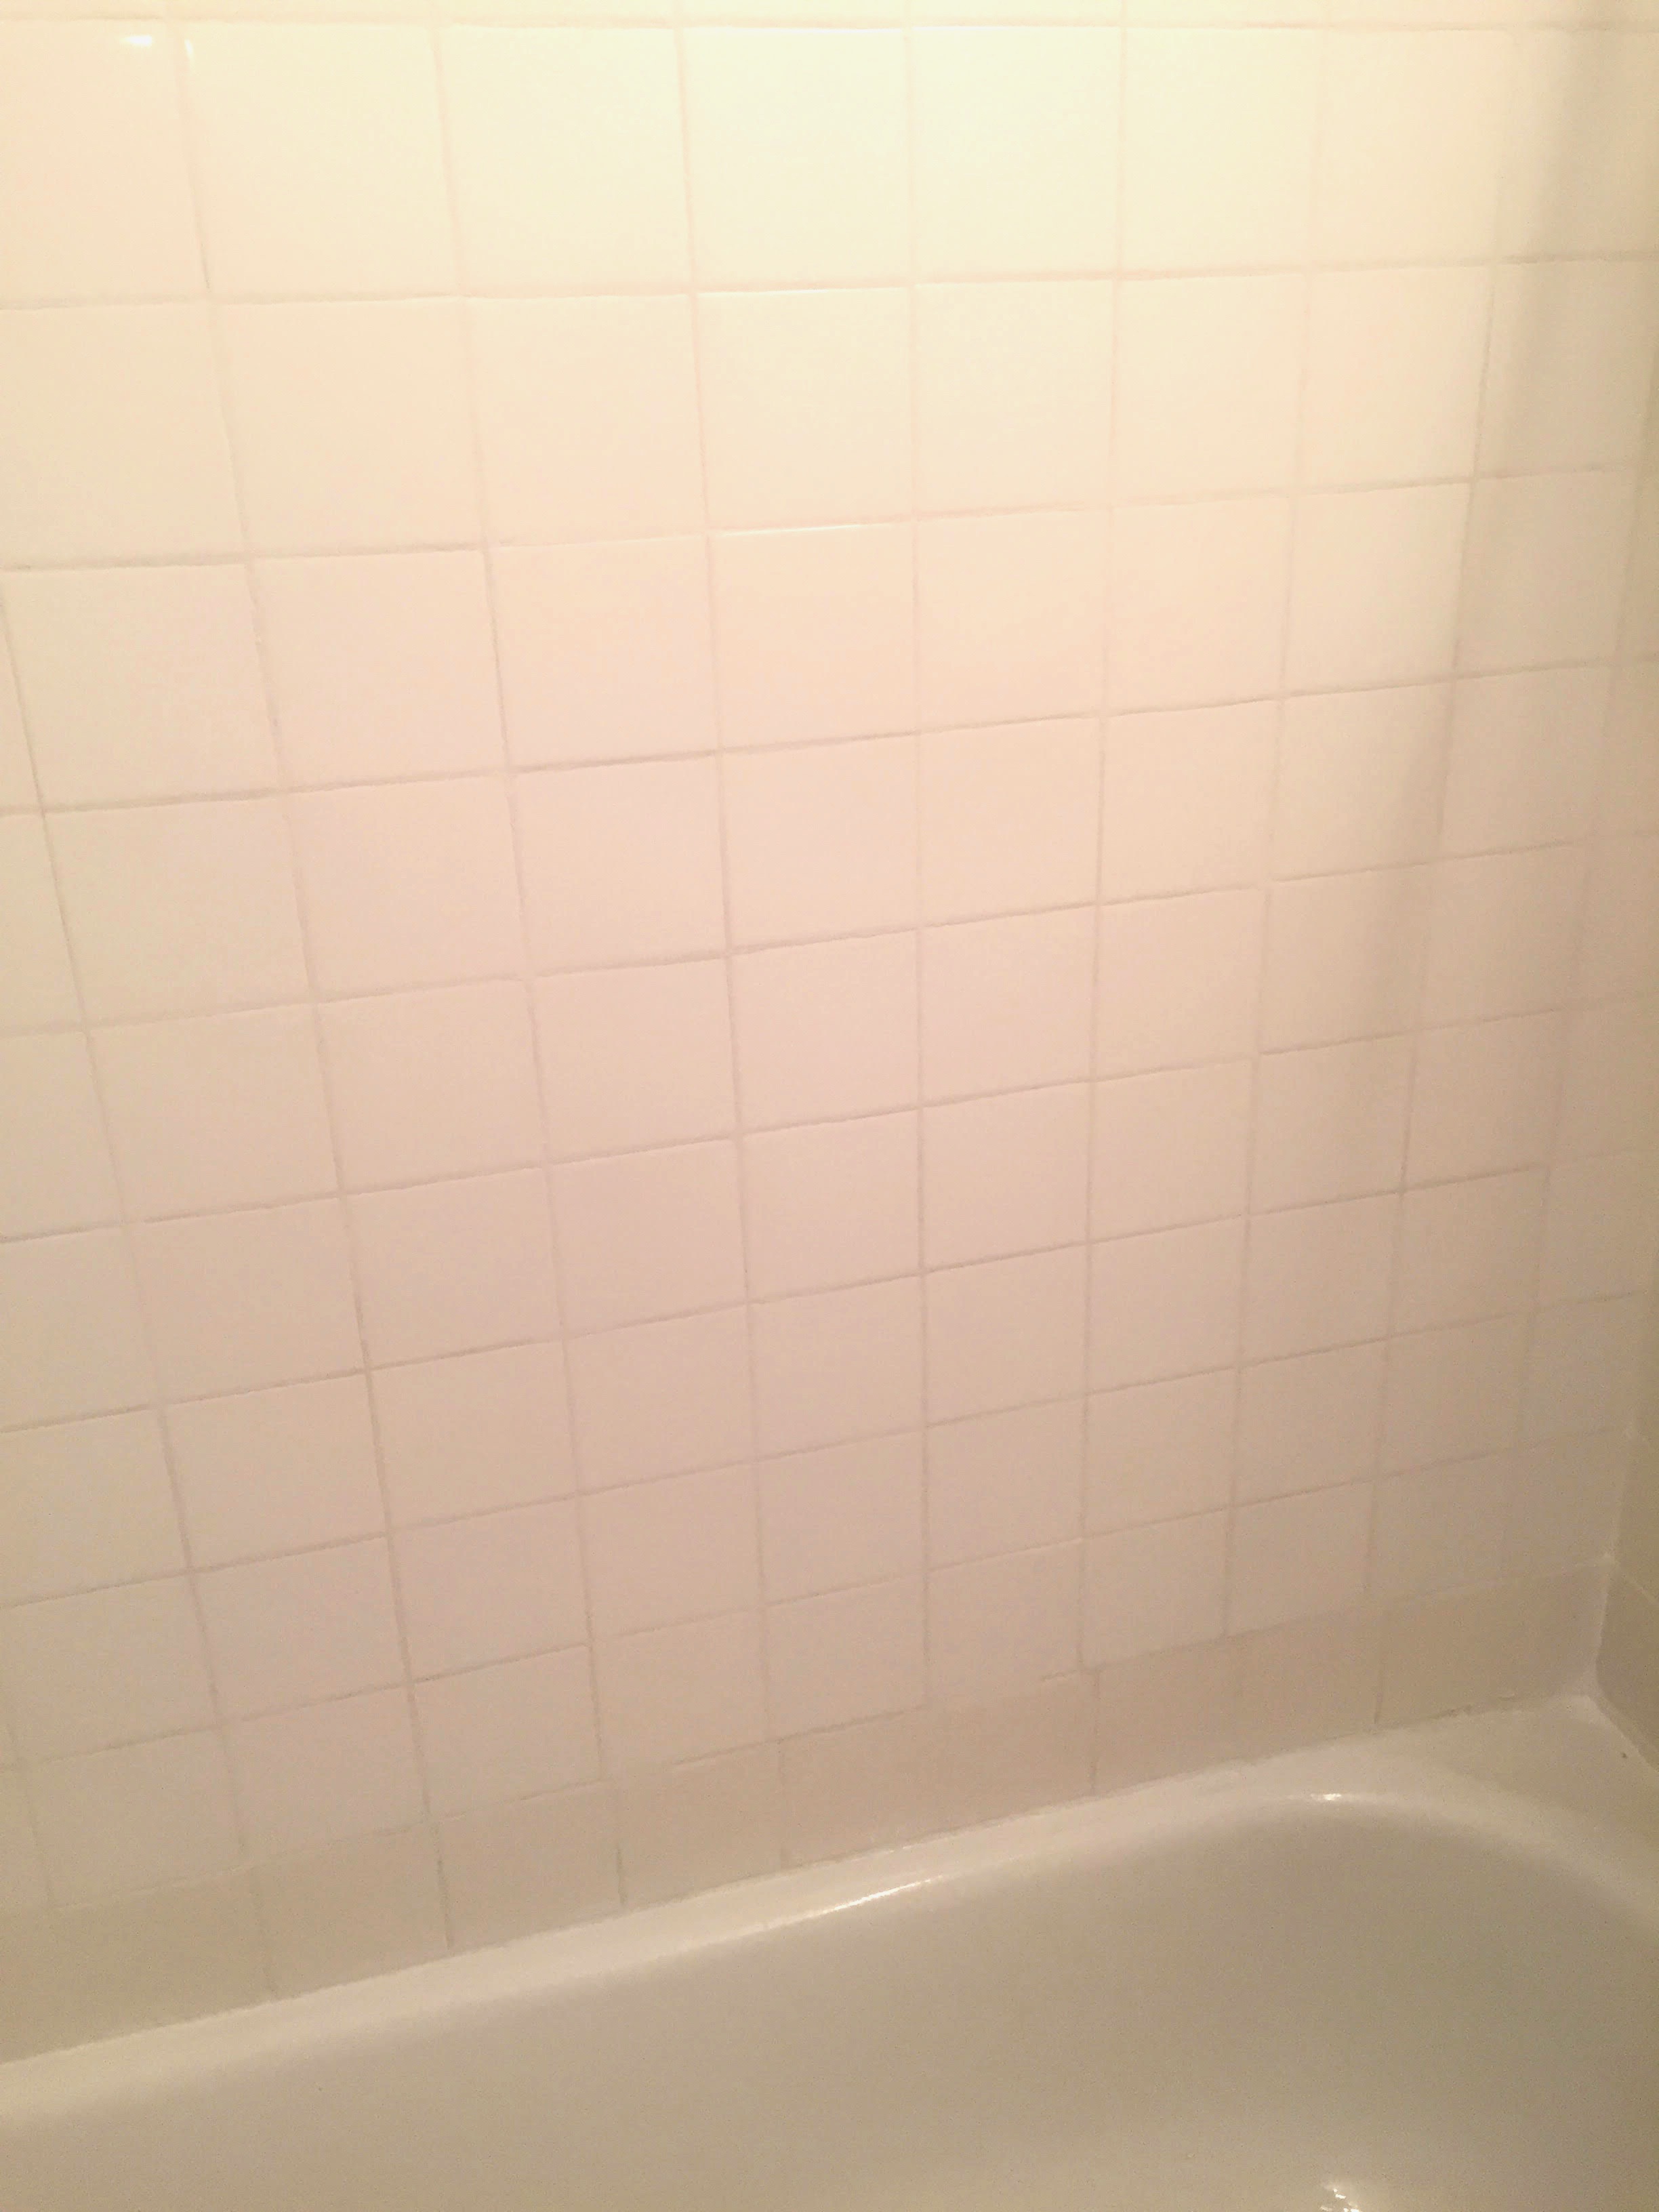
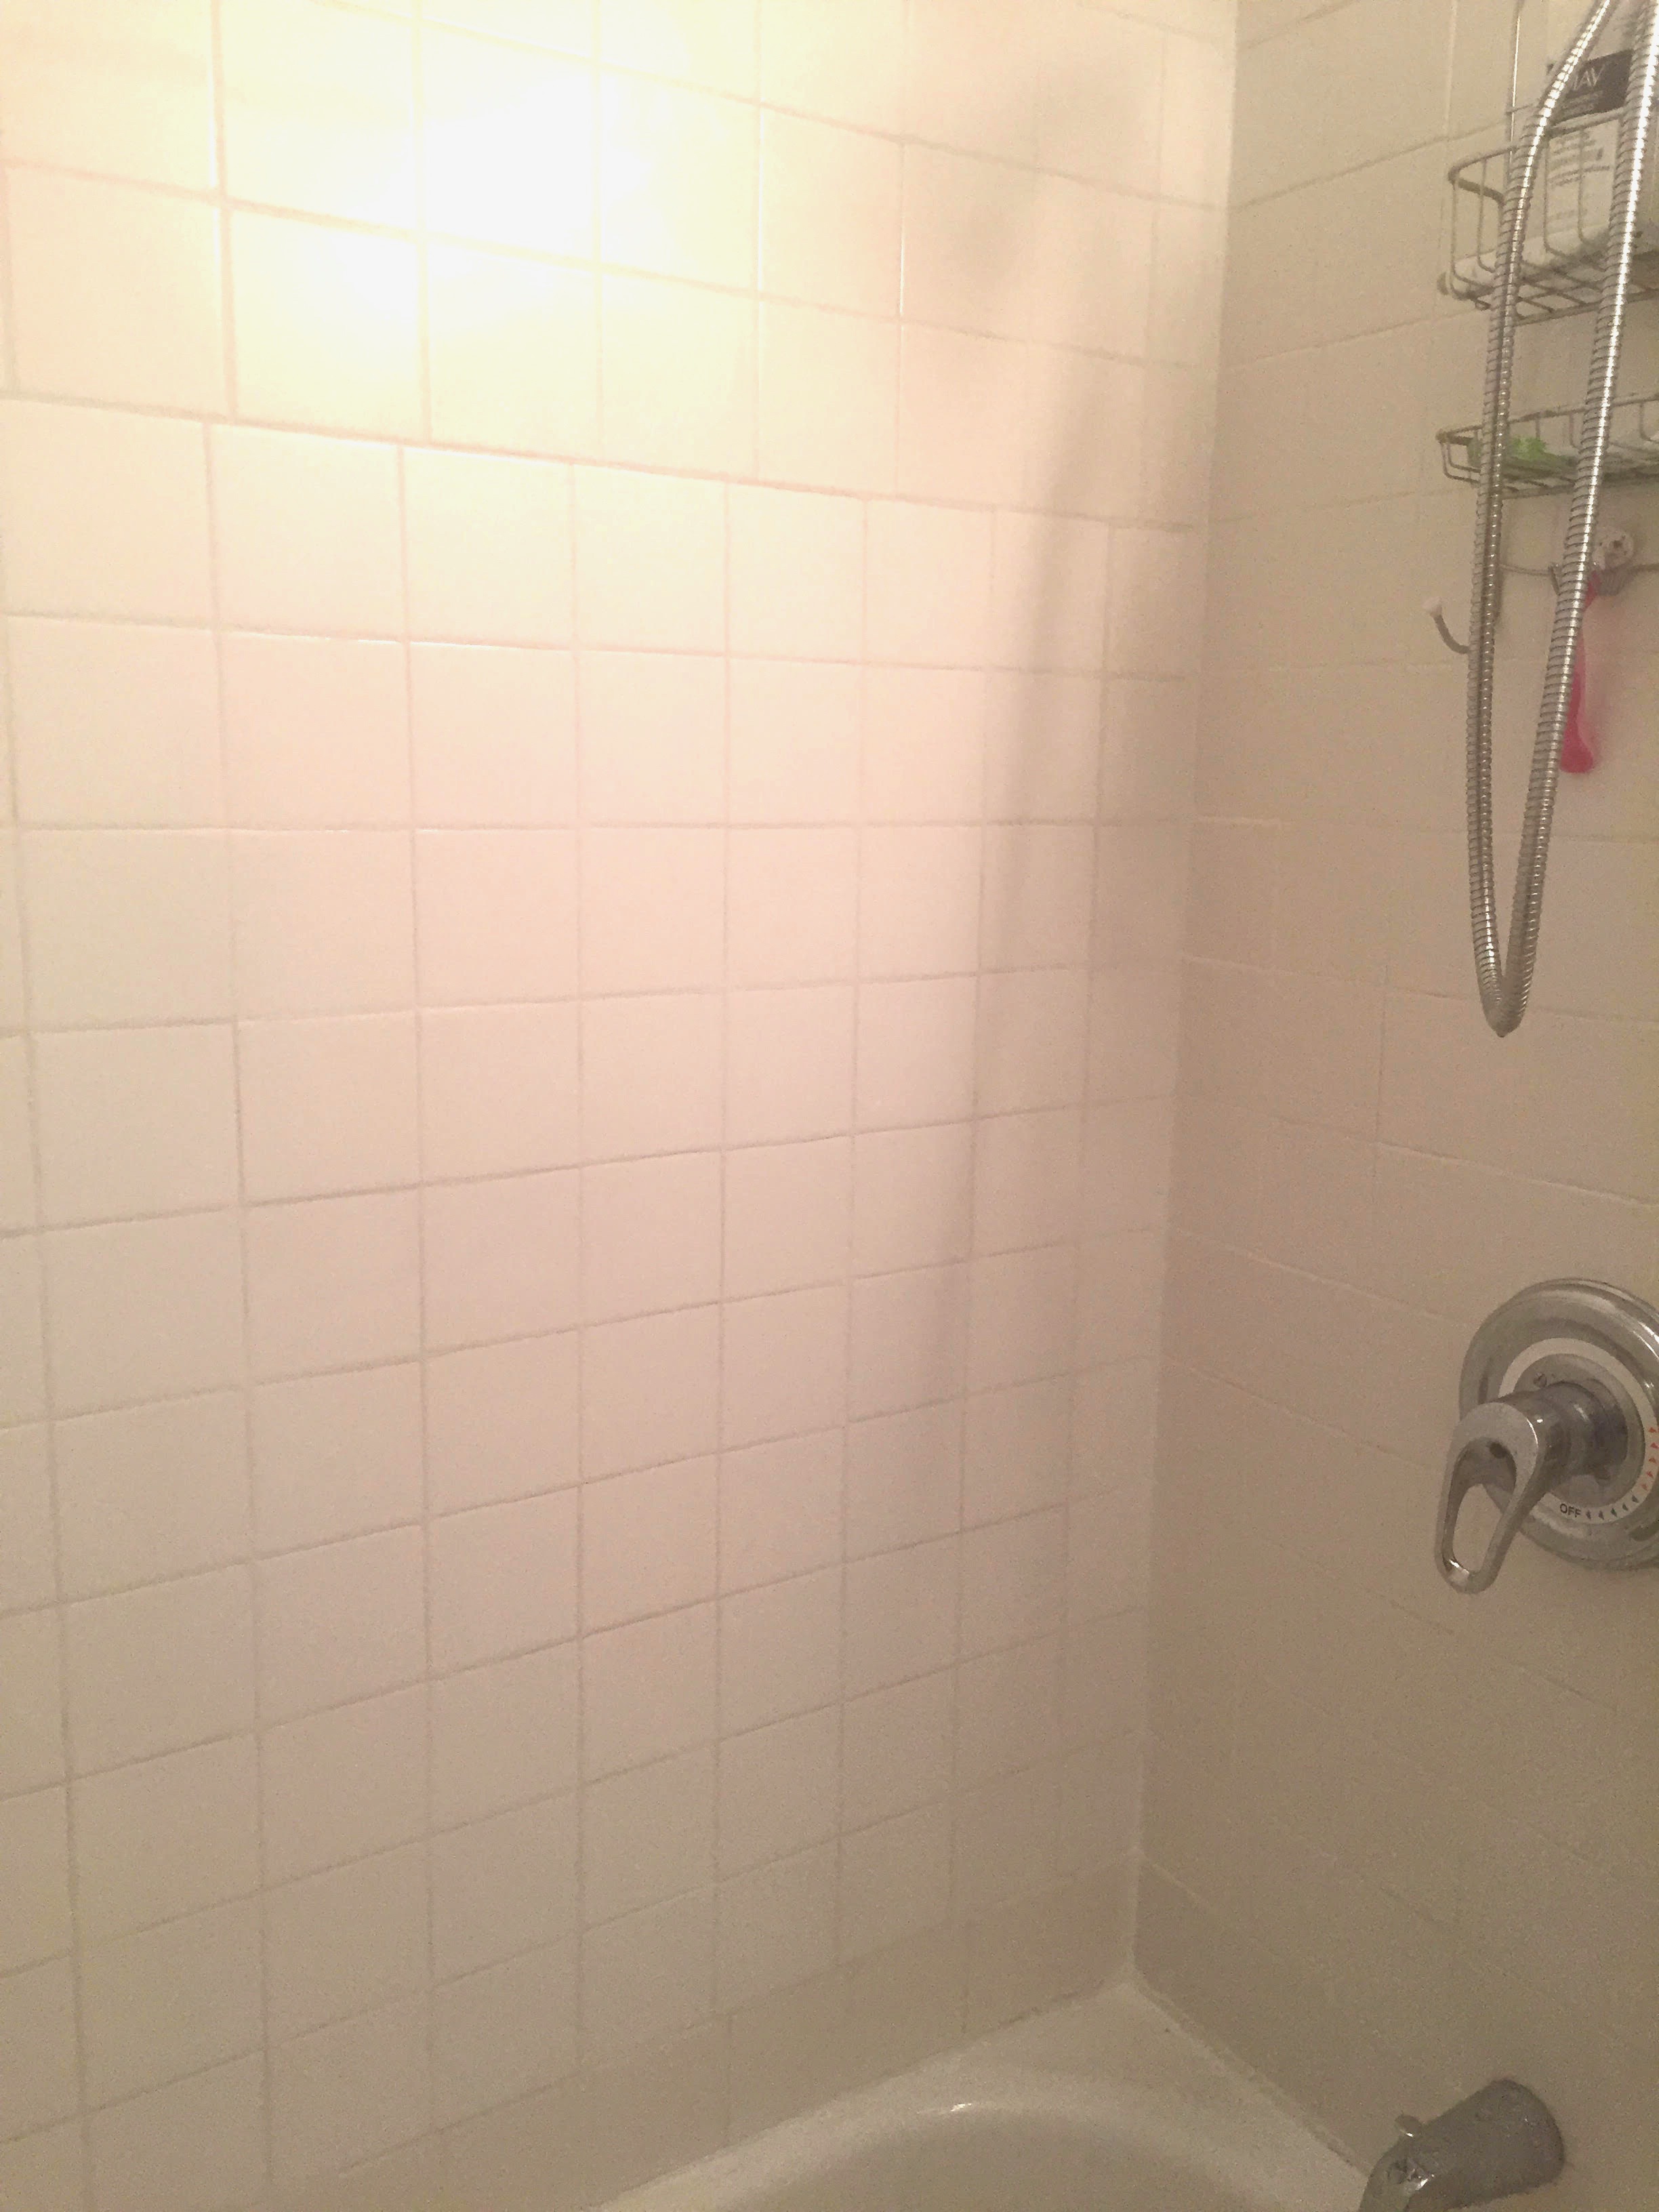
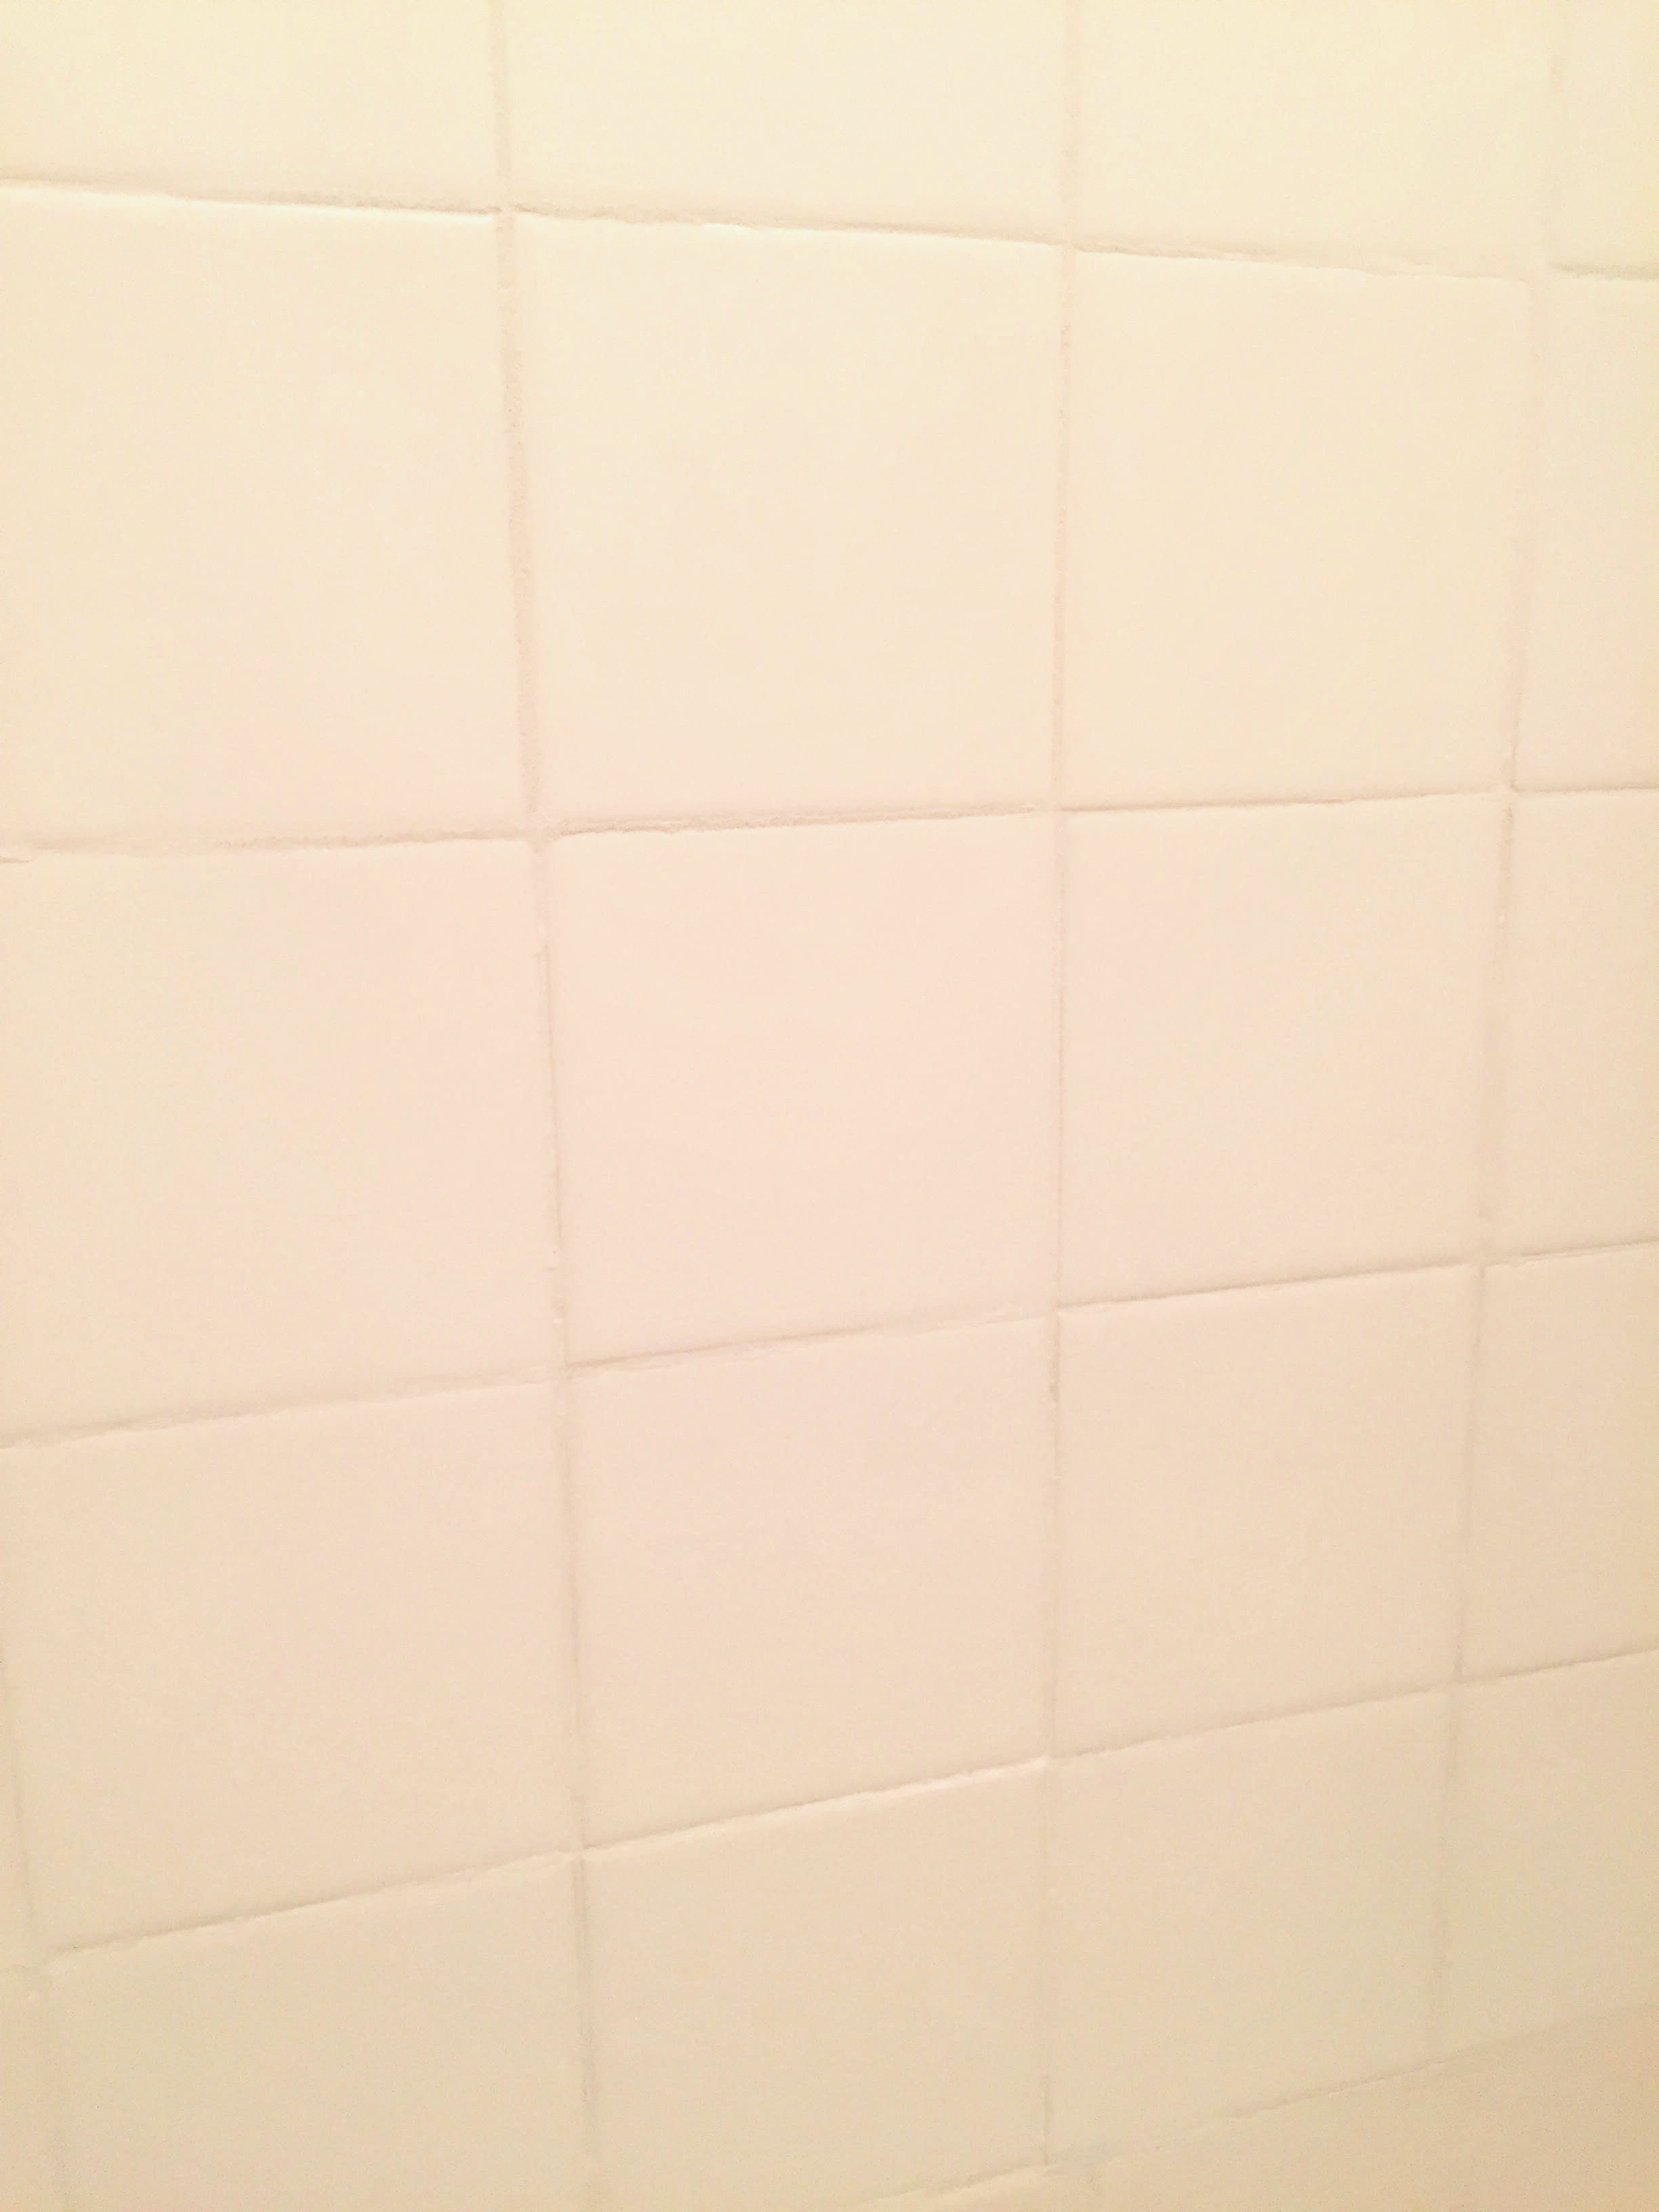
So to kick off this post we're going with some before shots and I'm warning you, they're prettyyyy scary. This is what $2.6k a month gets ya! 😂

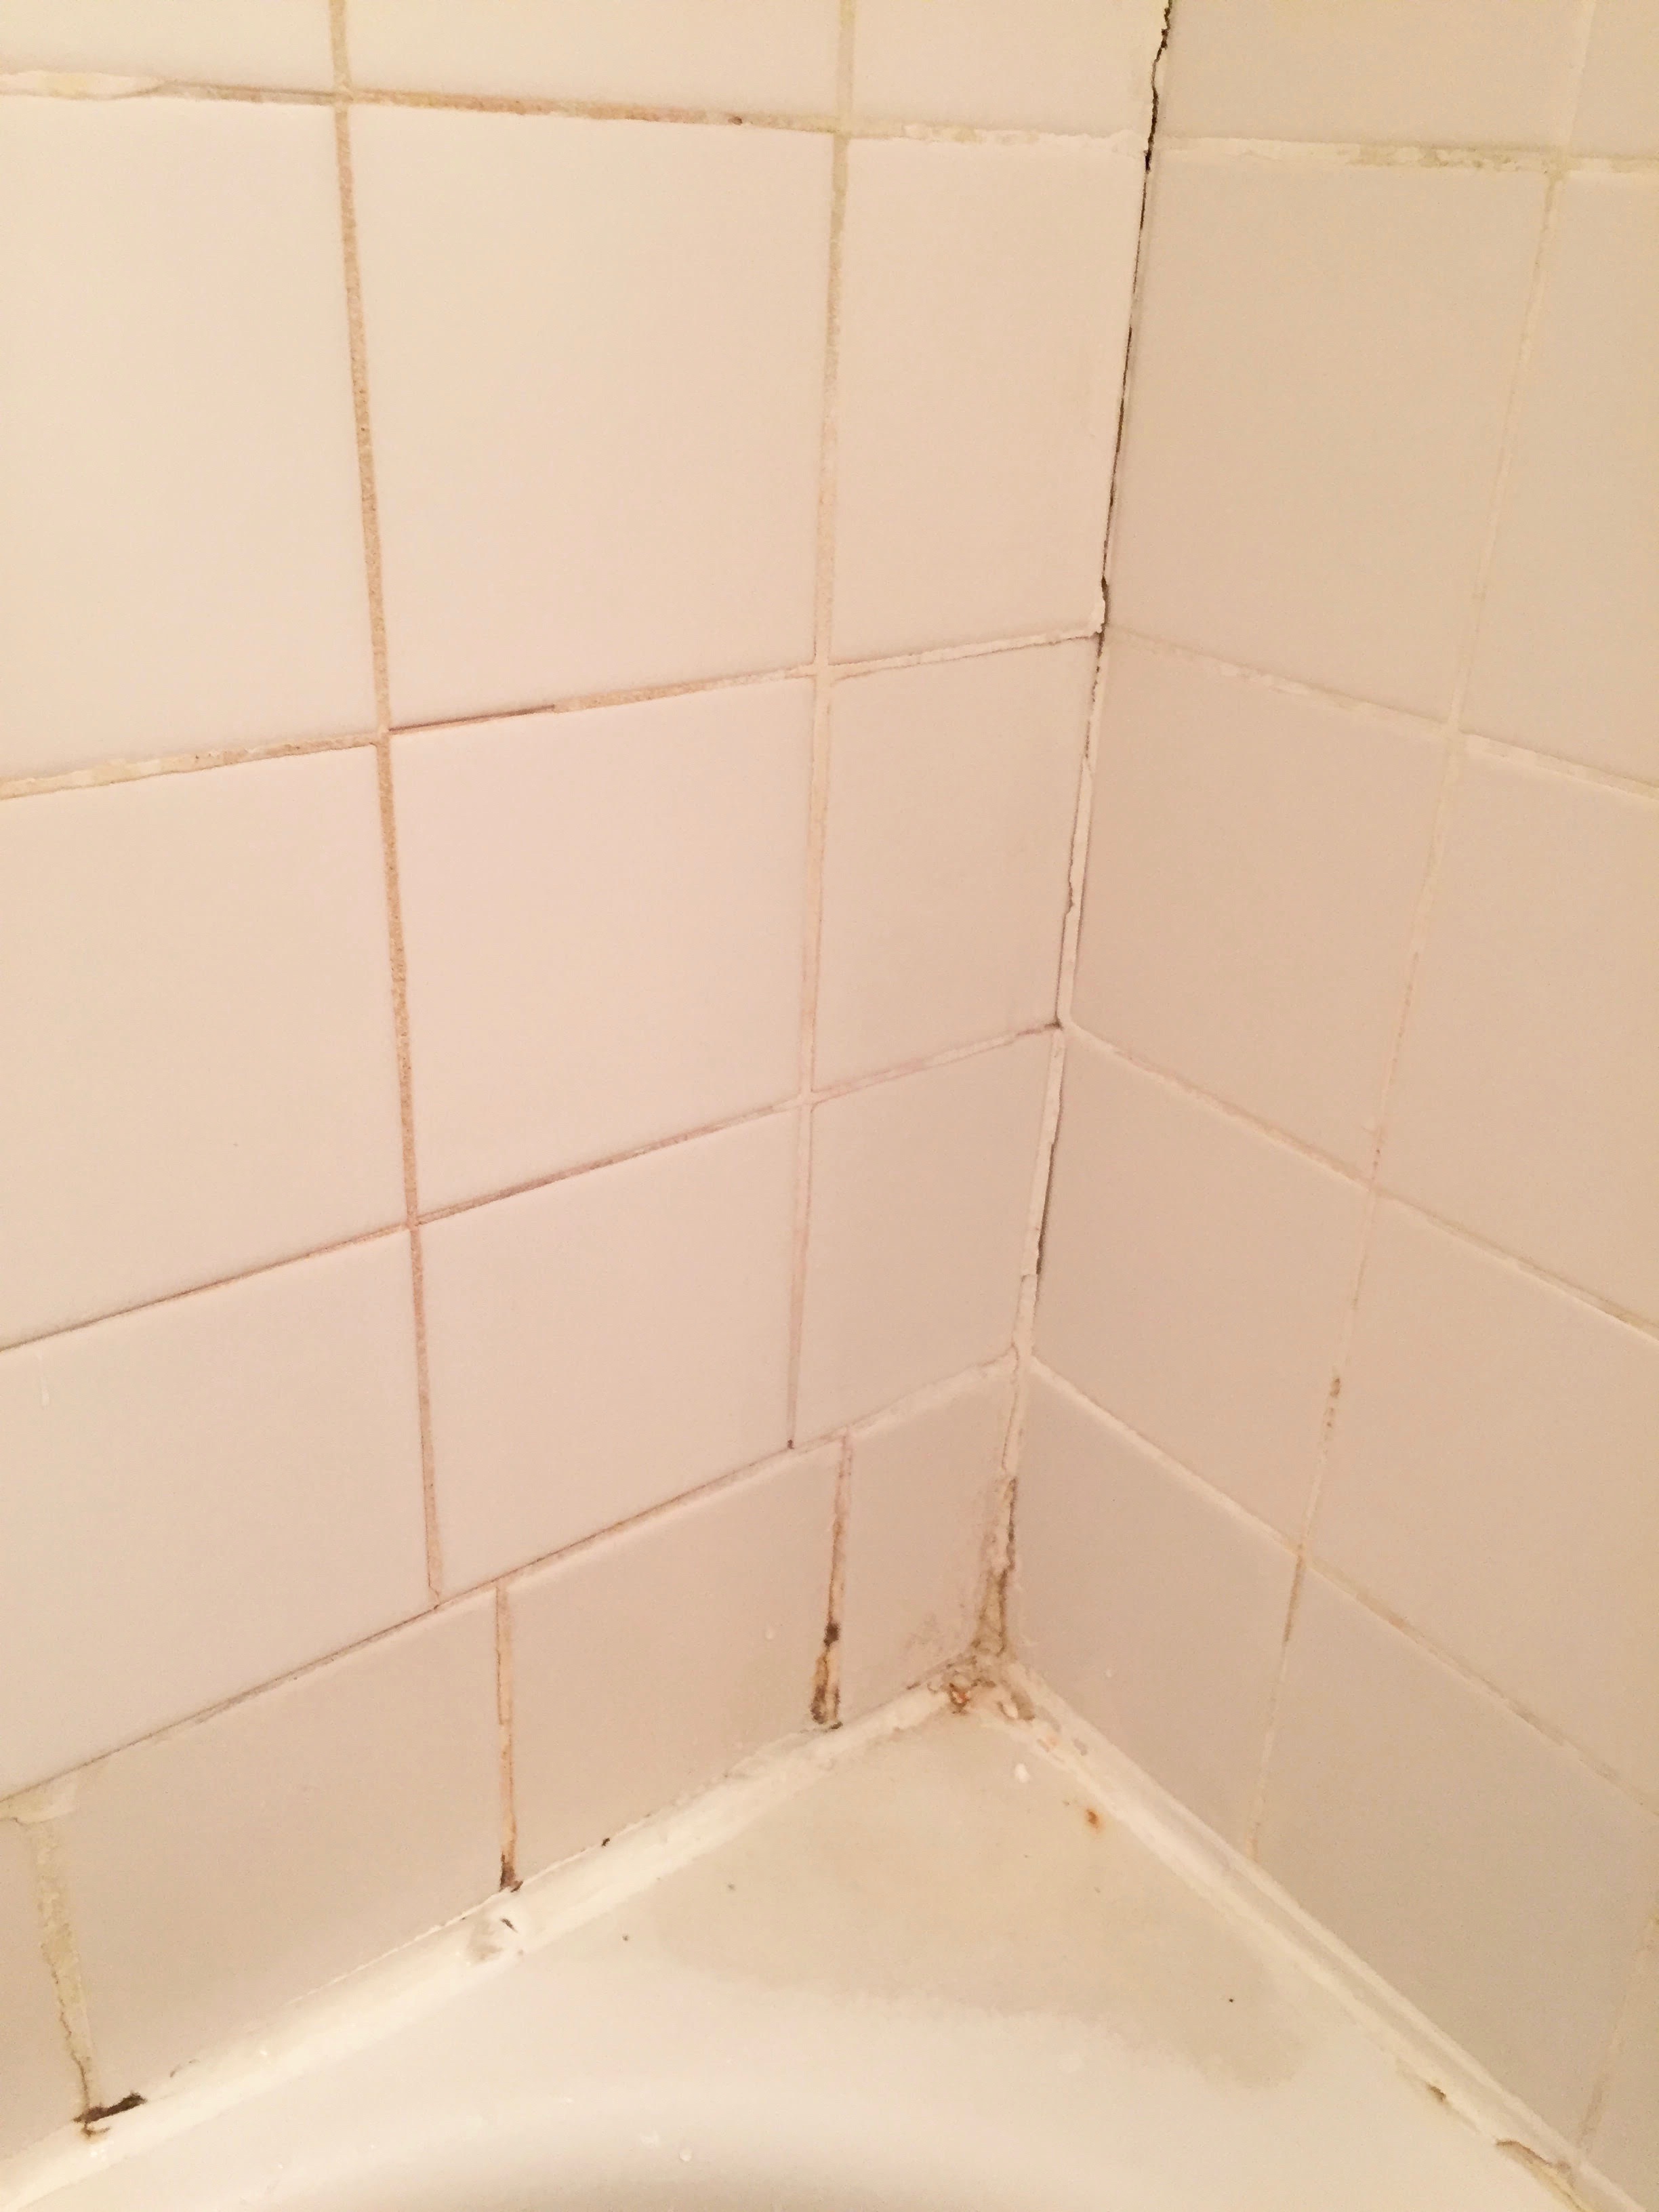
Yeah... we definitely had to make some improvements there. So here's the dets on what you need to make some magic happen.

The Essentials for the Job:

  1. 3 in 1 Caulk Tool 
  2. Elmer's Tile Grout
  3. Silicone Caulk
  4. Polishing Sponge
  5. Plastic Dropcloth (optional)

To get started, first you want to make sure the shower is clean so that you can prep the space. Once it's clean, you'll need to chip away at the old grout to make room for the new and also remove all of the old caulking. I bought this tool and I can honestly say it was the best $5 spent on the project. This little sucker made it super easy to remove everything. Bye bye nastiness!

Anna Osgoodby Life + Design :: Apartment DIY Project Bathroom Edition -- How to Re-Grout and Re-Caulk Your Shower for Under $30

After everything had been removed, I cleaned up a bit and got ready to re-grout! I opted for a pre-mixed grout in a tube from Elmer's -- who knew they also made bathroom products! 

Anna Osgoodby Life + Design :: Apartment DIY Project Bathroom Edition -- How to Re-Grout and Re-Caulk Your Shower for Under $30

I had read some great reviews about the product online and it sounded like a less messy option and didn't require as much drying time as some of the others, so I decided to give it a go! It's not as grainy as some other grouts, but it was easy to use and got the job done so those two things were the most important parts to me.

Never grouted before? Yeah, I hadn't either, but there are a ton of Youtube videos out there. While DIYing isn't for everyone, and some things are definitely best left to the pros, this one wasn't too bad. Time-consuming but not too difficult. The video below will give you some of the basics.

The grout dries pretty quickly and then the next step is to damper your polishing sponge to wipe off the excess. The key to this is giving it enough time to dry, but not to leave it on there for too long otherwise it's a pain in the booty to get off. I found about 20 mins was a good amount of time. After I completed the grout process, I let everything sit for 12 hours per the directions. While the supplies I chose allowed for much shorter waiting times, this is definitely a weekend project.

After the grout had sat for 12 hours I moved on to the caulking process. I had used caulking before in past apartments -- clearly I can't handle yucky showers. I will say though, I used a different brand this time and I will never use another again. I highly recommend using this variety from Momentive Performance Materials. Again with the time issue, this brand only requires 3 hours before you can use your shower as opposed to other brands which usually require at least 24 hours. Caulking isn't my favorite thing to do so I definitely wanted to get it right once and not have to do it again because some peeled up because it didn't cure for long enough. This one is also great because you don't need a caulking gun. Just squeeze and go! The tool I used earlier in the project also can be used to smooth our caulking too.

After the caulking was complete, it was time to wait! The directions said 3 hours but I decided to let it sit at least 6 before using the shower. I also bought a plastic dropcloth and taped it up on the shower walls for 2 days.. Justttt to be extra careful to protect the work I just did. #OneBathroomProblems If you have another shower, you probably won't need one but I got one just as a precaution.

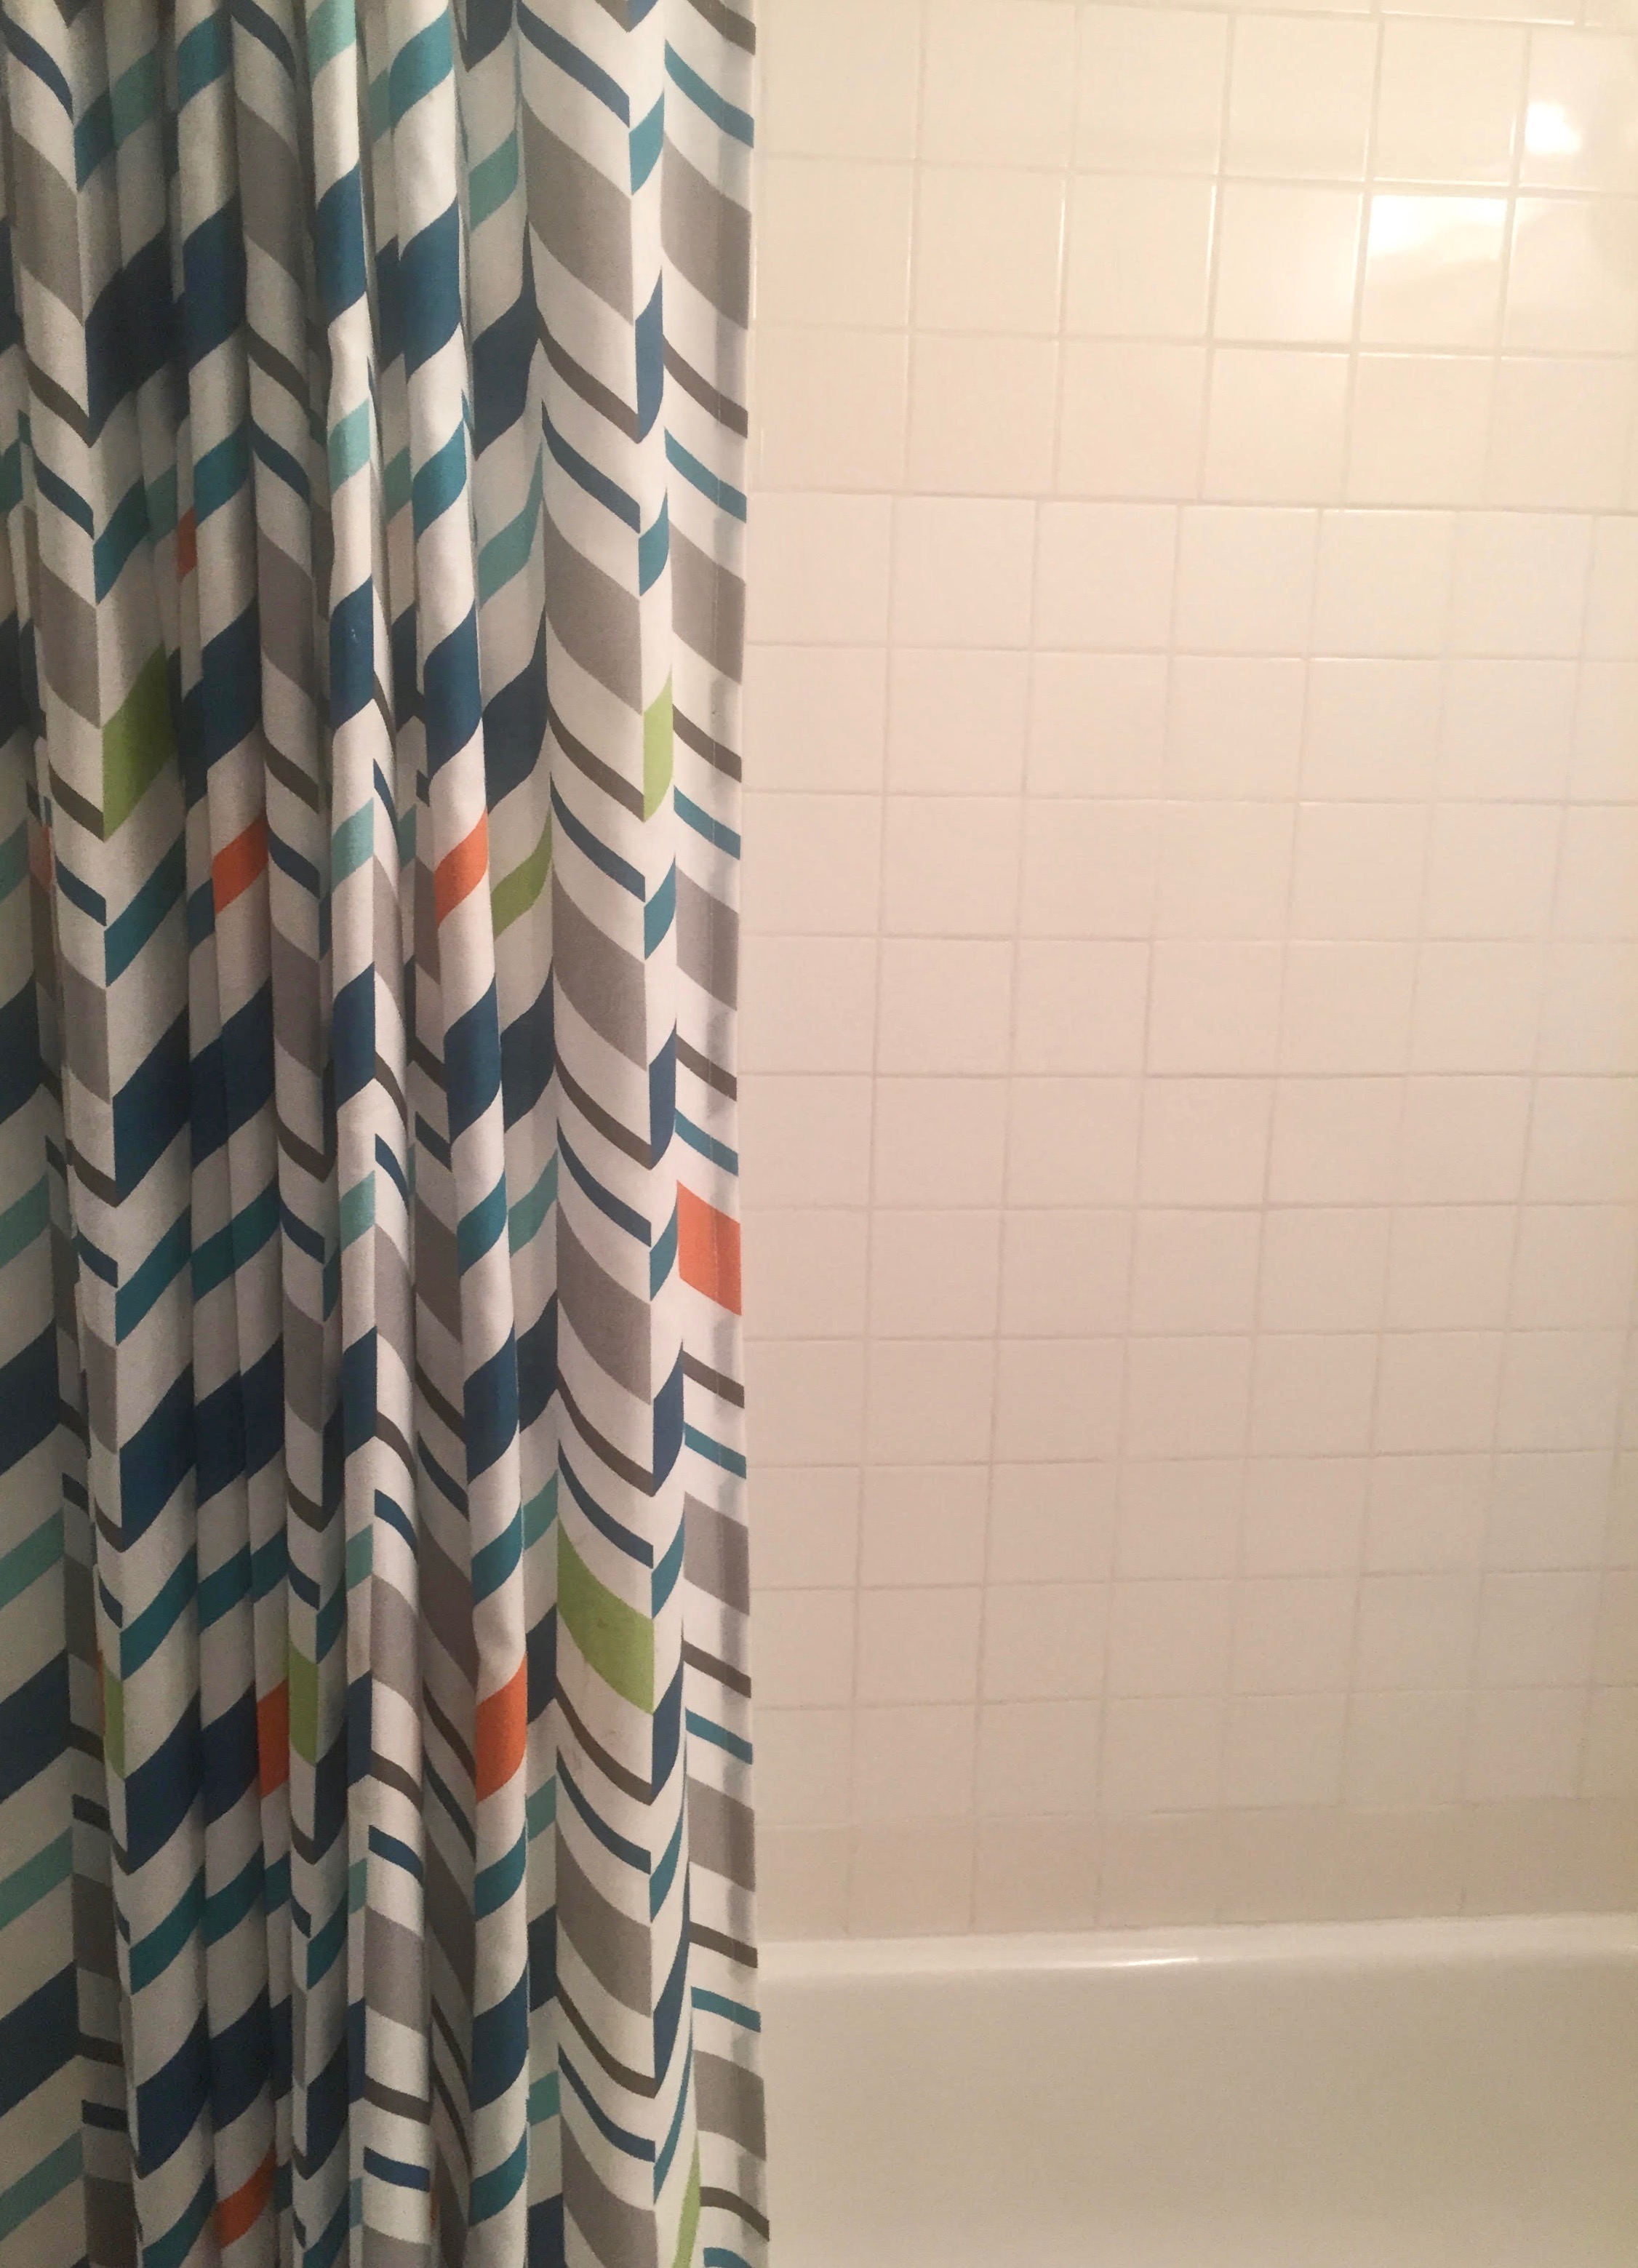
So how did it turn out? I'd say pretty good! It's still not perfect, but oh boy is it an improvement from how it was when we moved in!

I hope you've enjoyed this post and hopefully I can help out some fellow people dealing with some grout-y showers! If you have any questions feel free to send them my way in the comments.

Extreme Home Makeover Anna Edition!

You officially know you’re growing up when you can’t wait until your HGTV Magazine comes each month, you get excited about a type of kitchen sink on Pinterest (true story), and most of your TV channel surfing hours are now filled with HGTV marathons. I couldn’t be happier about it though! Aww, the rush I get when I score some fantastic chevron patterned pillows at TJ Maxx for a steal-of-a-deal!

So you can start to understand my excitement when I was given the keys to Chris’ apartment while he was away, with almost free range! Two exceptions… 1.) No painting 2.) No turning the apartment into a “Barbie Dream house”. I was a little bummed about the first exception.. I do LOVE color, but just the fact that I was actually getting an okay to decorate after over two years of asking… It sure felt like sweet success! Better yet, his roommates were also out of town for the weekend so I had the whole apartment to myself to play with without worrying about disturbing anyone. Perfecto! So what did I do? First a look at the before pics, which I almost forgot to take! (Excuse the mess.. my fault! I’ll Chris a little credit he’s usually pretty clean)

For this project, I was looking to add some accents to his space while staying minimalist with a modern touch. If I was going to make changes that he was actually going to stick to, I couldn’t go too crazy with dramatic changes either. My guy is a man of routine and familiarity (as much as I try get him to step out of that box a little!) so I was looking to make changes that added some life to the apartment and maximized space. My goal was to accomplish all of my goals all while on a tight budget too! I opted to do this project on my own, soo I’d be doing it on my dime. 

Once I had a game plan, I made a list and made a plan! My project required:

  • 2 1/2 days — I had a half day on Friday for Good Friday so I took advantage of that extra time!

  • 1 trip to Ikea

  • 1 trip to Michaels

  • 1 trip to Target

  • 2 trips to TJ Maxx

  • 2 trips to Home Depot

  • 1 trip to Bed Bath and Beyond

This project would have been a little easier if I had a car or took a cab, but I opted for the public transportation route to save money, and it made it a little bit more interesting ;-) Plus I found some adorable new neighborhoods in Brooklyn on my way to Ikea that I can’t wait to go back and explore!

My first successful trip was at Ikea. It’s kind of a trek by public transportation (1 hr 20 mins from my apt) but I’ll go the extra distance for a good deal.. oh and some Swedish meatballs!

I must say I got quite the workout carrying all of my purchases back! Especially from my trips to Target and Home Depot. I could have taken a cab.. but I figured who is going to mess with me in Harlem while I’m carrying a 8x10 rug or from Home Depot with a 6 foot shelf? ;-)

By Saturday evening I finally had all of my supplies! Then it was time for some of the fun stuff! First up? Finding some prints for the frames. I just used a few patterns from Pinterest and then made a few of my own. I only scored a fun numbers piece from Target on clearance for $4.98 that I thought would fit into my collage nicely. Another thing I did was use a couple of empty frames. This way, I could still add to the space without overloading Chris with patterns since he likes things simple.

Once the art was set I was onto the chairs! Personally, I could do without the folding chairs in the living room, but they’re something he uses so I decided to repurpose them. I picked up some fun fabric at Ikea and did a quick recover. I’d never done it before, but these chairs were a pretty easy first project.

Things were starting to come together! Another thing I did to make a more functional space was take both of Chris’ huge speakers and put them behind the couch and then top them off with a big shelf to create a working sofa table. The speakers still work nicely and now there’s a little shelf room.

The most time-consuming part of this project was probably the closet. Because of some rearranging, I needed to put his big dresser into the closet which wasn’t the easiest task by myself! On top of that I had quite a bit of organizing to do. Chris is what I’d like to call as a “closet slob” on the outside he appears to be clean and organized, but if you look a little further, cough.. in his closet or the cupboards above the closet you’ll find every piece of junk he’s collected over the last 8 years and hasn’t thought about since! So organizing that was quite the task! It didn’t help that the cupboards are too high for me to reach even with a chair. I ended up pushing the couch up against the closet and jumping when necessary. Somehow I still managed to get all what seemed like 2,000+ cds,1,000+ dvds, books, old clothes and shoes all organized nice and tidy! Then I was onto the actual closet portion, which ended up looking like this…

Here’s some other pictures of the finished living room…

image

image

Instead of having the big mirror on the wall, I decided to take it down and tap into the leaning mirror trend.

Another angle! To the right of that mirror is about another 5 feet and a window, which I put up grey curtains on. I forgot to get a pic from that angle! Plus, you can see the TV in the reflection which lines the back of the spiral staircase that goes down to the second level, and where his roommates live.

Now onto the bedroom! Chris’ room is actually a little smaller than mine so it’s just that a bed room. I kept it simple in here because I’ve slowly made some improvements already over the last two years. Prior to this project, I already installed the curtains, got a bedskirt, new pillows, new throw blankets, a new duvet cover, sheets, and throw pillows so I had already made some progress prior! This time around, I started by moving his desk from the living room into here which takes up less space. Next, was moving his Bob Dylan poster into the bedroom (which used to be hung over the kitchen wall — and not centered mind you). I straightened the pictures he had in frames and grouped them all on one wall in a clean and organized manner. I also got a few hooks to hang his coats next to the desk and invested in a over the door shoe rack, Thank God! My biggest pet peeve was that he had his shoes lined up against the whole perimeter of the room. I get it… he likes shoes and wants them accessible, but I didn’t think it was the best use of space.

Walah! And that is it! The whole project! The only thing left to do was clean up the kitchen and bathroom. Oh, and pick up some of his favorite Easter candy to greet him when he came back! 

So was it a success? YES! He loved it! He made a few changes.. moving the hamper and the bed back against the wall, but other than that he was pretty impressed, which makes all my work worthwhile!

So if you ever need some thrifty decor ideas or solutions for small spaces… I’m your girl! ;-)