Easy Entertaining :: 3 Simple Cocktails
Anna Osgoodby Life & Design : Easy Entertaining 3 Simple Cocktail Recipes

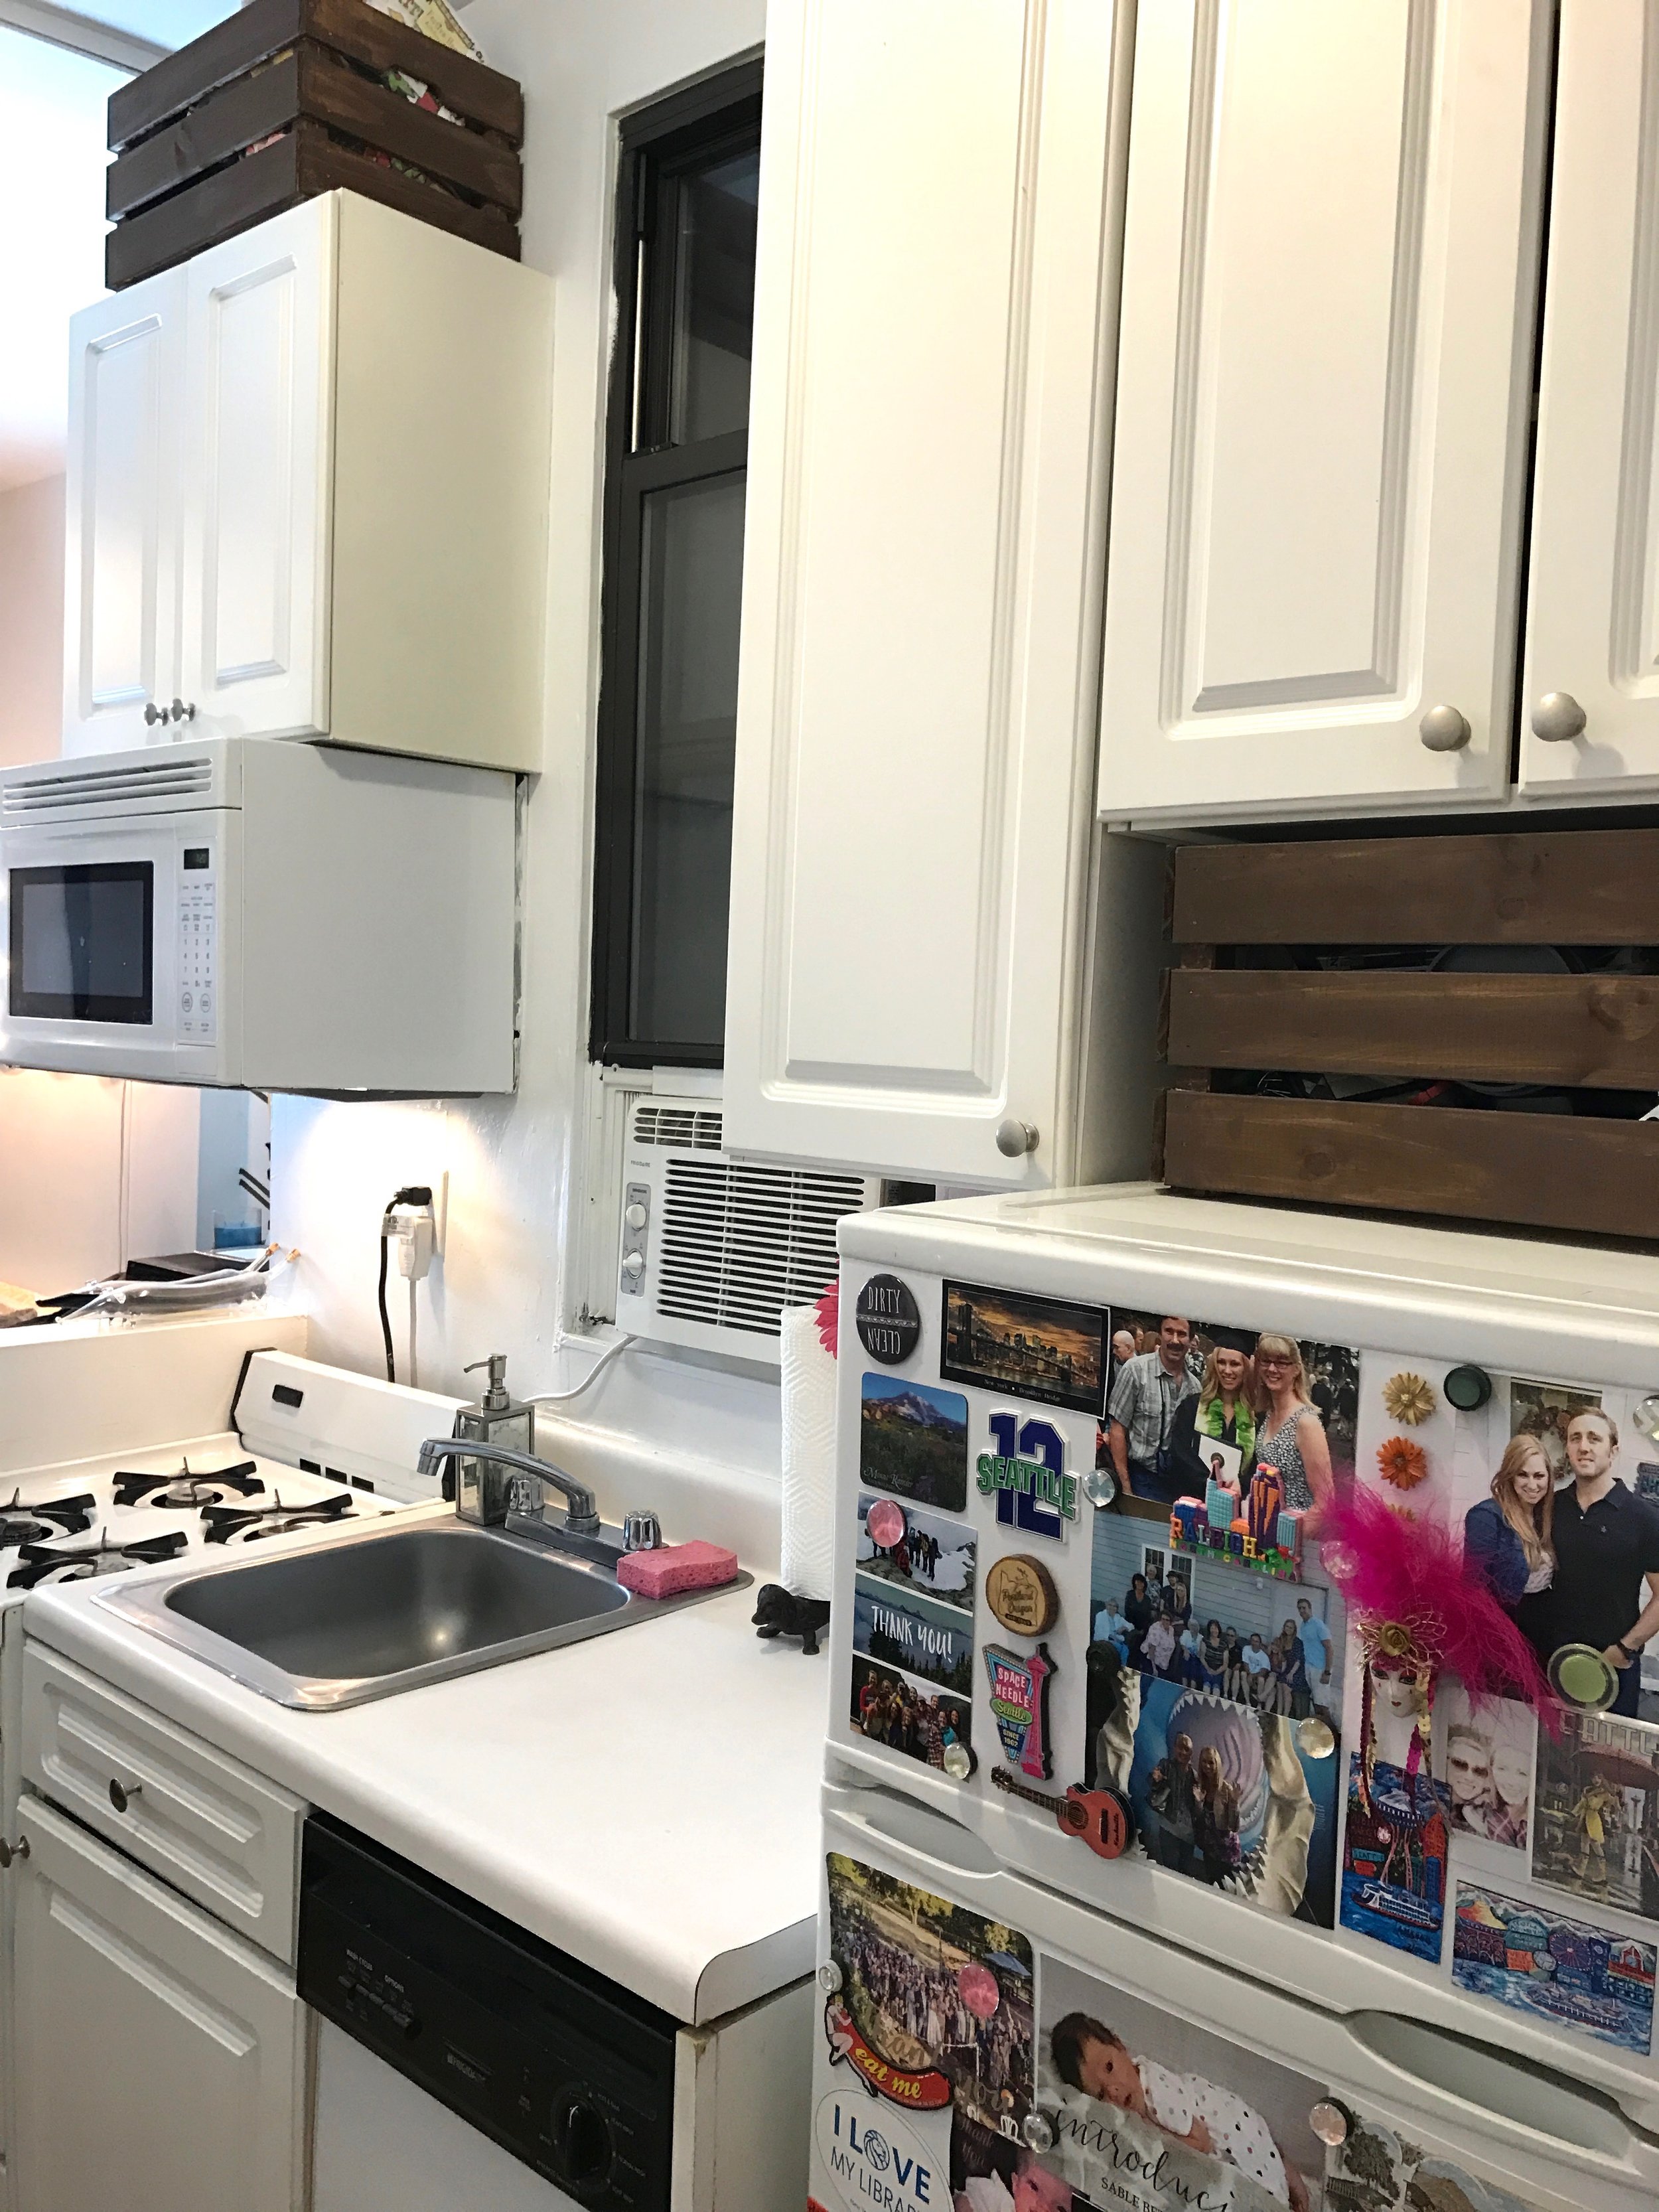
Woh hoh, New Year's Eve is here! When it comes to entertaining in the city, my motto is definitely the simpler the better. Hey now, have you seen my fridge?! It's mini-sized! So I'm always looking for simple options that don't require a ton of ingredients, because I don't have extra space! Plus, I'm totally the person who avoids a recipe if it calls for an ingredient I know I won't use for something else -- Again, that space thing! So to take the stress out of cocktails I've collected some of my favorites that are easy peasy to make and 4 ingredients or less! 

Apple Cider Mimosas

This one was introduced to me by Chris' mom and I have to say it's one of my favs! While mimosas usually go hand-in-hand with brunch, I think this is a great option for all hours. Plus, the cinnamon and sugar rim is the perfect way to add a little sparkle for New Year's Eve!

Ingredients:

  • Champagne
  • Apple cider
  • Sugar/cinnamon mixed

Start by dipping the rims of your glasses in a little bit of water followed by the sugar cinnamon mix. Fill glasses up 50/50 with champagne and apple cider.

Strawberry Mint Lemonade Cocktail

Any time I'm having a big group of people over lemonade cocktails are my go-to. It's easy to batch the lemonade prior and then I like to keep the vodka separate so people can decide how much they want or if they want to keep it virgin.

Ingredients:

  • Lemonade (pre-batched or you can make your own)
  • Fresh Strawberries (Can also use blueberries, raspberries, or blackberries)
  • Mint
  • Vodka

If you're on a serious time-crunch, you can just pick up a couple of bottles of lemonade at the store for this one. It doesn't really matter because you're going to dress it up with sliced strawberries and sprigs of mint. Plop everything in a pitcher and refrigerate for an hour or so before serving. If you have the time, I like to do this the night before so that the flavors really brighten up the lemonade. Top with a shot of vodka and enjoy!

Cherry Moscow Mules

Moscow Mules have been one of my favs this fall and winter and they're so easy to make! This recipe is a simple twist off of the classic and adds a little holiday flavor.

Ingredients  

  • Juice from 1/2 lime
  • 2 tsp cherry juice (can also top with cherries)
  • 2 oz. vodka
  • Top with ginger beer

Fill glass with ice, mix all ingredients and serve! 

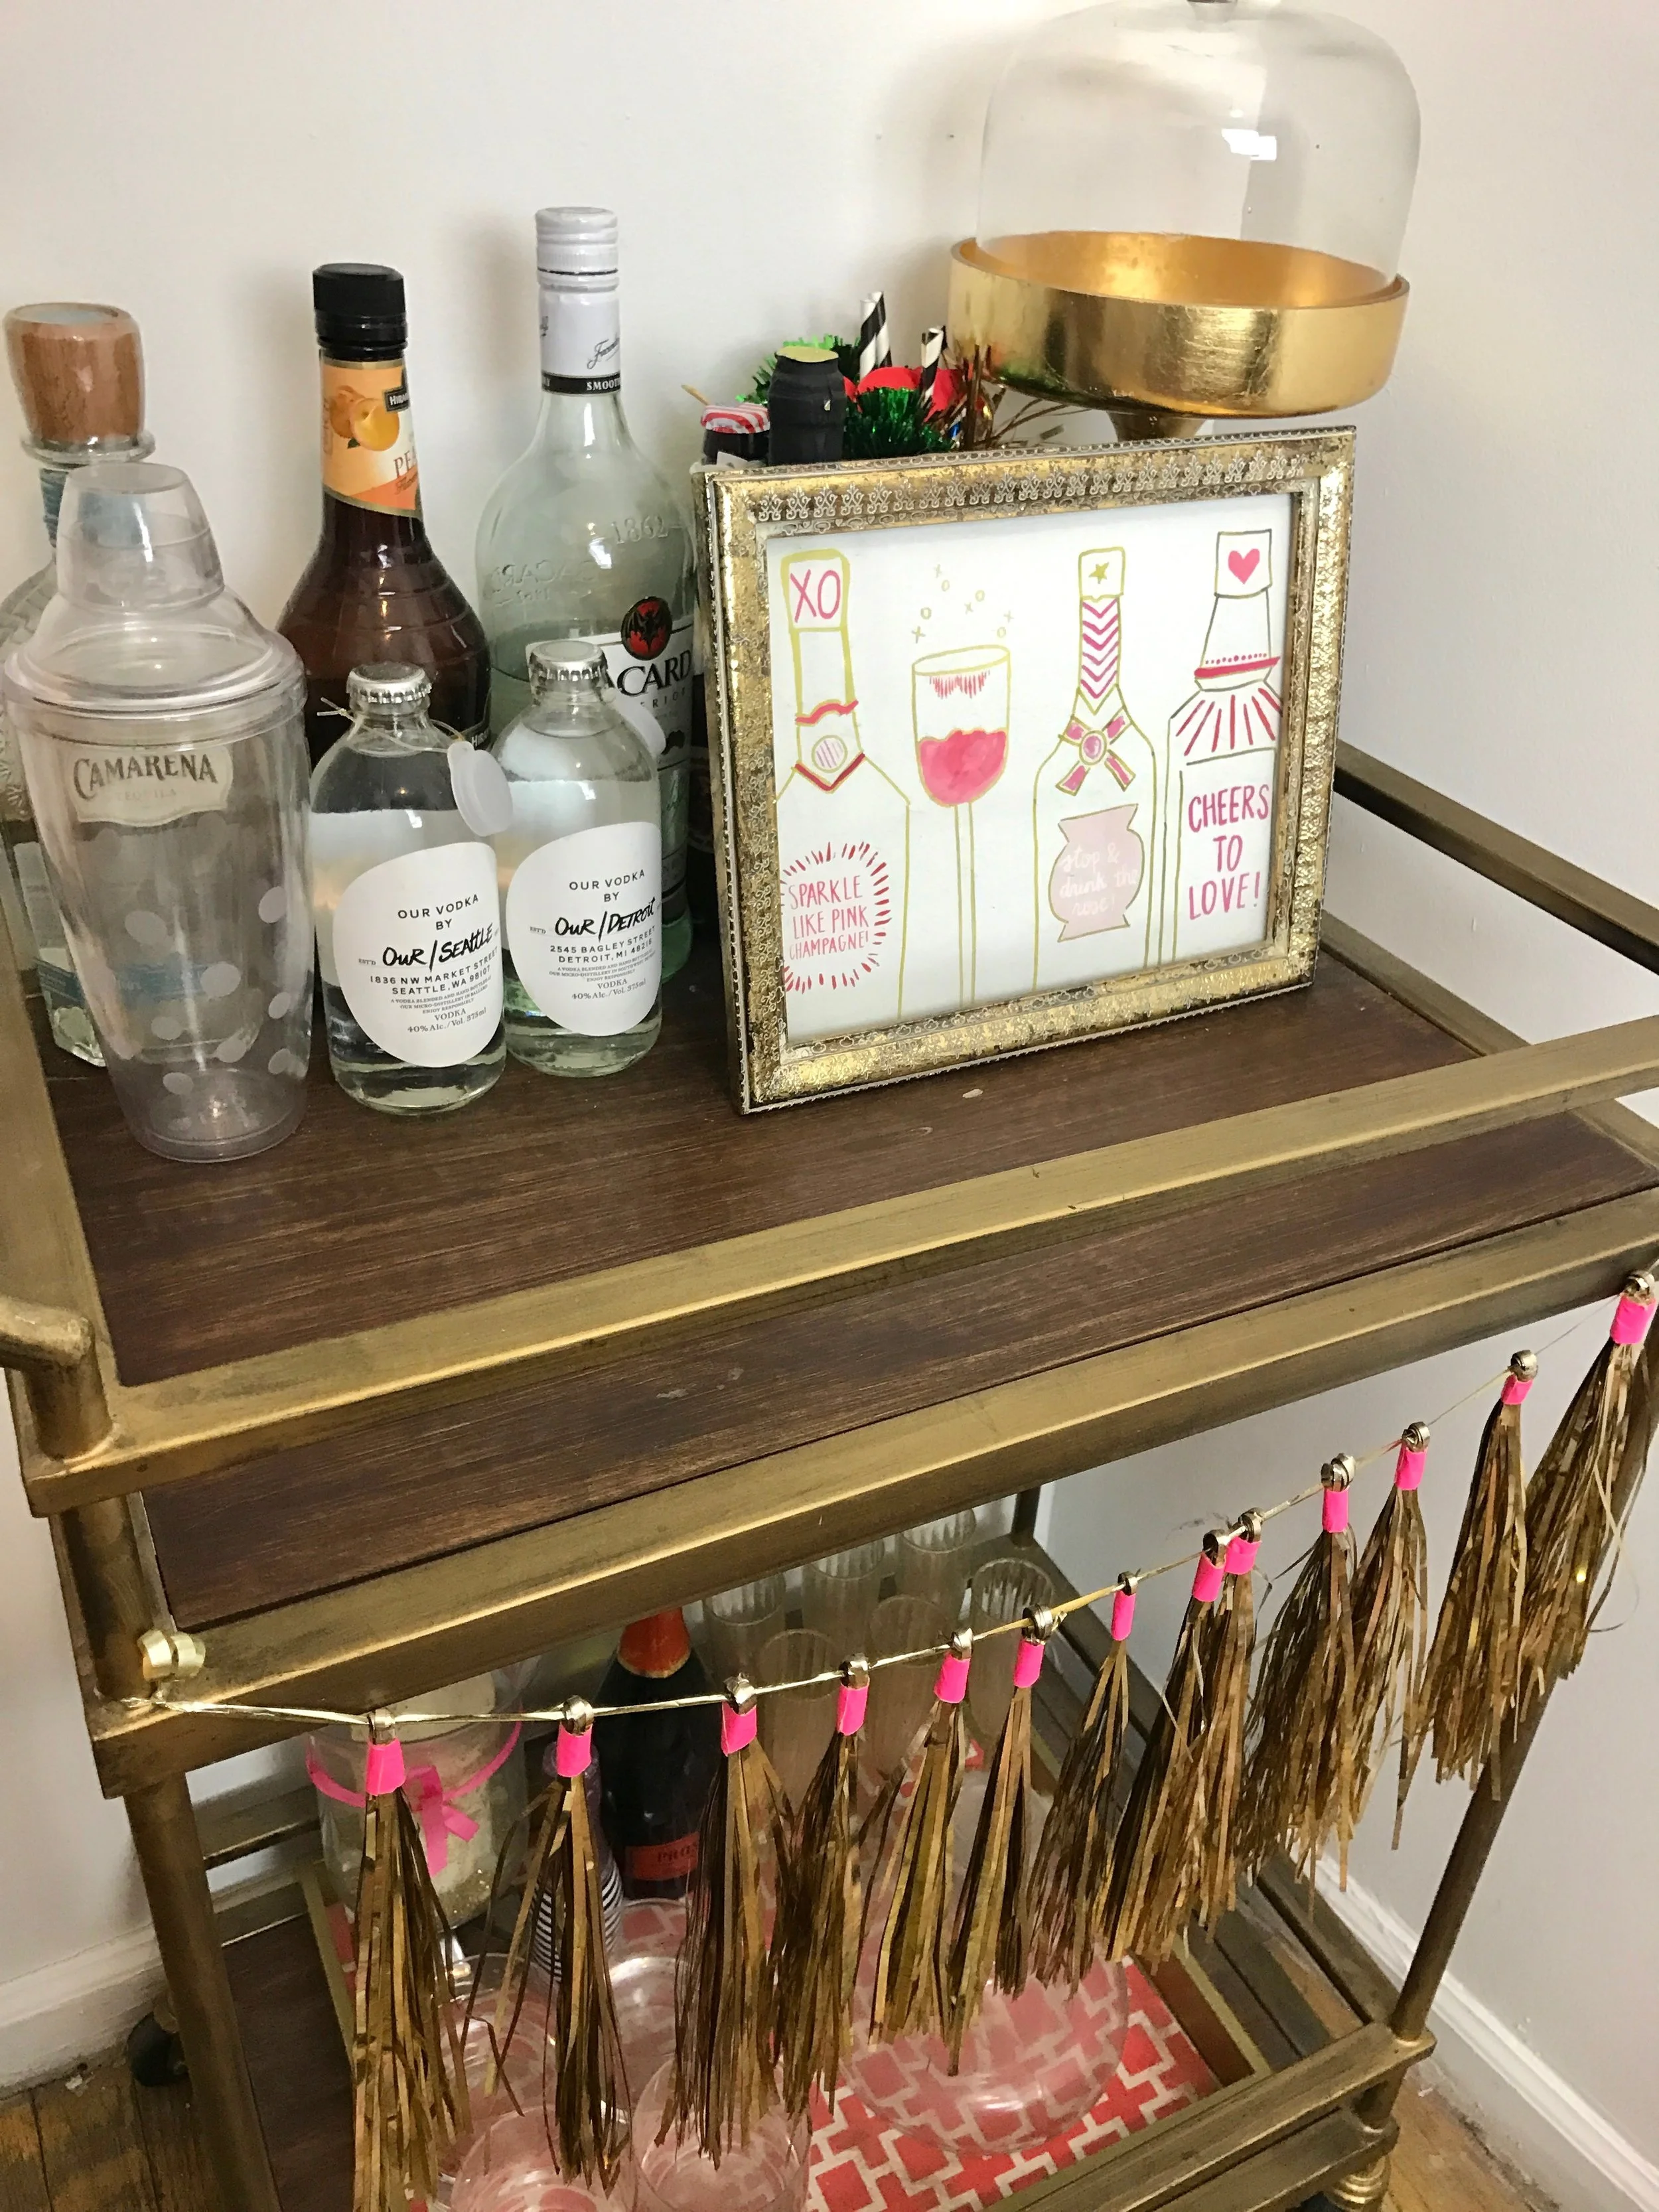
I may also have a theory that these cocktails taste even better when served in cute glasses 😉🍾 Cheers to that and cheers to a safe and fun New Year's Eve celebration!

2016: A Year in Review
Anna Osgoodby Life + Design: Highlights of 2016 A Year in Review

Boy, oh boy 2016 was quite the year! Between starting a business, moving in with Chris and a lotttt of travel I can quite honestly say 2016 was one of the craziest, busiest, most exciting years I've had to date. There were a lot of ups and downs, but holy moly am I thankful for all of the changes and experiences I've had this year -- AND especially thankful for all of you who were along for the ride. 

I covered some of those BIG changes already in my NYC-versary post (You can check it out >>here<<) , so today I'm sharing a slideshow of some of my favorite memories 🎉 2016 was a wild ride and I can only imagine what 2017 will bring! 

Apartment Tour Partayyy 🎉
Anna Osgoodby Life + Design :: NYC Home Tour Colorful & Stylish Upper East Side Apartment

This post is long overdue! I finally had a chance to take some shots of the new apartment (okay it's been 4 months..) and am excited to share! This is my 4th apartment in the city, and my first with Chris (other than the few months in the studio) so it's a bit of an eclectic blend between both of our things. 

The Specs

Location: Upper East Side

Apt. Sq. Feet: Apx. 385 sq. feet

Outdoor Sq. Feet: Apx. 240 sq. feet

Anna Osgoodby Life + Design :: Apartment Tour Partayyy

So living in NYC, they never tell you the square footage of apartments (unless they're new buildings) so it's always a bit of a mystery until I measure for my apartment tour posts. I have to say after moving in here, my guess was it came in around the 450 sq ft. range because it feels a lottt bigger than the studio, which was around 373 sq ft, but to our surprise it doesn't even break the 400 mark coming in at apx. 385 sq ft. Can I also take a moment to acknowledge I just said I thought 450 sq. ft. felt big?! 😂 You know you've lived in NYC too long when... haha. 

I must admit, while we certainly could have made the studio work for a bit (if my landlord didn't sell the building), having the bedroom is pretty nice. I'm very much a night owl and work pretty late a lot of nights, so it has been nice to have the separation in the space. Plus, we can have two TVs out now too so I'm not tied to watching sports 99.9% of my evenings anymore. 

Oh and btw, note on the pics -- my marquee sign has some blinking lights which is fun when you're in person, not so great for taking pics lol!

Anna Osgoodby Life + Design :: Apartment Tour Partayyy

I really loved using washi tape to decorate the walls in the studio so I went at it again in the new place! This time around I went with a gold washi tape and went with a linear design to spice up those white walls a bit.

Anna Osgoodby Life + Design :: Apartment Tour Partayyy

Chris had a few "must-haves" in the new apartment... Cue his Pearl Jam, the Iron Sheik, and Bob Dylan posters.. Sooo yeah those made it in. 😂

Anna Osgoodby Life + Design :: Apartment Tour Partayyy

While most days we end up just eating on the couch, I wanted to create a little eating nook. I decided the perfect little spot to create one was on the wall in between the kitchen and living room so I bought a shelf from Ikea and wa-lah instant little eating bar!

Anna Osgoodby Life + Design :: Apartment Tour Partayyy

Another thing that was a little tricky is we don't have many cabinets in the kitchen and we didn't have any drawers. So we bought a hutch and put up some open shelving to create some addition storage space and kind of a galley kitchen feel. I have a lotttt of glasses -- hey a girl needs cute glassware for girls nights right?! So this really helped maximize the space we have.

Anna Osgoodby Life + Design :: Apartment Tour Partayyy

Okay, so total confession.. I've become a magnet hoarder. I've been picking up new ones whenever I got somewhere new and I've worked up quite the collection.

Anna Osgoodby Life + Design :: Apartment Tour Partayyy

As you can see, our apartment is old -- Pre-War baby. So there's some older and kind of funky things. Yes, we have an electrical reader in our living room lol.. buttt that's what people on HGTV like to call 'character', right?!

As renters, obviously most are things we can't change but we still did some DIY projects to spruce the place up where we could! Like our bathroom! While it isn't anything to call home about, I did do a lot of work on it when we first moved in to get it up to my standards. Just call me handy Anna! I re-grouted and re-caulked the bathtub, which let's just say needed some love.

Anna Osgoodby Life + Design :: Apartment Tour Partayyy

Our apartment is long and skinny so from north to south it's our bathroom, kitchen, living room, bedroom and then the backyard.

Anna Osgoodby Life + Design :: Apartment Tour Partayyy

It's okay that our apartment is still under 400 sq ft. too because what reallyyyy MAKES this apartment and why I really really wanted it was because of its private backyard which comes in at a whopping 240 sq ft! Bringing us in at 385 sq ft inside and 240 sq ft outside for a nice 625 sq ft of living space when the weather is nice. Summer come back to me already!!

Anna Osgoodby Life + Design :: Apartment Tour Partayyy

I put some serioussss sweat equity into the backyard to get it to look like this. Let's just say it was a bit of a fixer-upper but I'm sooo happy with how it turned out with some help from the Felicetta's! I'll share the before and afters on this one (along with the bathroom projects) on a future post to show some inexpensive projects you can take up as a renter.

Anna Osgoodby Life + Design :: Apartment Tour Partayyy

All and all, we're really happy with the new place and the new location! Anddd being on the first floor instead of the 5th of a walk-up has totally changed my life #realtalk. Hope you've enjoyed checking out the new digs too!